Building your own home is a dream for many. Some envision a cozy cottage in the suburbs, others a spacious riverside home, and still others a functional home for a large family. Although building a home yourself may seem incredibly daunting at first glance, with the right approach, planning, and preparation, the process is entirely achievable. In this article, we'll take a detailed look at how to build a house yourself, from choosing a site to finishing the interiors.
- Why is it worth building a house yourself?
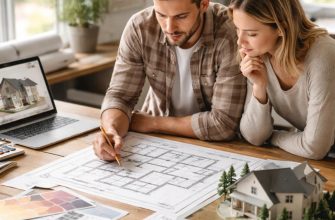
- Preparatory stage: from idea to drawings
- Selecting a site
- Project development
- Permits and documents
- Site preparation
- The foundation is the foundation of the house
- Walling
- Materials:
- Stages:
- Ceilings and stairs
- Roofing and roofing
- Windows and doors
- Communications
- 10. Interior decoration
- 11. Landscaping
- 12. Tips and life hacks
- Conclusion
Why is it worth building a house yourself?
Building a house yourself is, first and foremost, a way to save a significant portion of your budget. Doing it yourself allows you to avoid the expense of hiring a crew and overseeing every stage of construction. Besides saving money, you gain complete control over the quality of materials, architectural solutions, and space planning. This is a home designed with you in mind.
But there are other advantages:
- Flexibility- you can change the project at the construction stage;
- Mindfulness- you know what and how is arranged inside the walls of your house;
- Experience- After completion of construction, you will become a competent specialist in home repair and maintenance.
Preparatory stage: from idea to drawings
Selecting a site
Before starting construction, you need to select a site. Key criteria:
- Location— proximity to the city, availability of infrastructure (roads, shops, schools);
- Communications— availability or possibility of connection to the electricity grid, water supply, sewerage, gas;
- Geology— soil type, groundwater level, relief;
- Legal status— availability of documents, possibility of construction of individual housing construction (IZHS).
Project development
The project can be:
- Typical— ready-made solutions from architectural firms;
- Individual— designed to meet the specific needs of your family.
You can also draw the project yourself using specialized software, but it is better to consult with specialists.
The project must include:
- General layout;
- Foundation;
- Load-bearing and enclosing structures;
- Heating, water supply and sewerage systems;
- Power supply;
- Roof and roofing elements.
Permits and documents
Before starting construction work, it is necessary:
- Getbuilding permitin local government bodies;
- Register a plot;
- Notify the architectural control authorities;
- Conclude contracts for connecting utilities (gas, electricity, water).
Site preparation
Before pouring the foundation, it is necessary to prepare the site:
- Clear the area of debris and trees;
- Mark the contours of the foundation;
- Build temporary access roads;
- Install a construction trailer (utility unit);
- Arrange water and electricity supply.
The foundation is the foundation of the house
The type of foundation is selected depending on:
- Soil;
- House project;
- Loads;
- Groundwater level.
Main types of foundations:
- Strip - optimal for most homes;
- Slab - used for soft soils;
- Pile - applicable on shifting or wet soils.
Stages of construction of a strip foundation:
- Digging a trench;
- Installation of formwork;
- Reinforcement;
- Pouring concrete;
- Exposure and waterproofing.
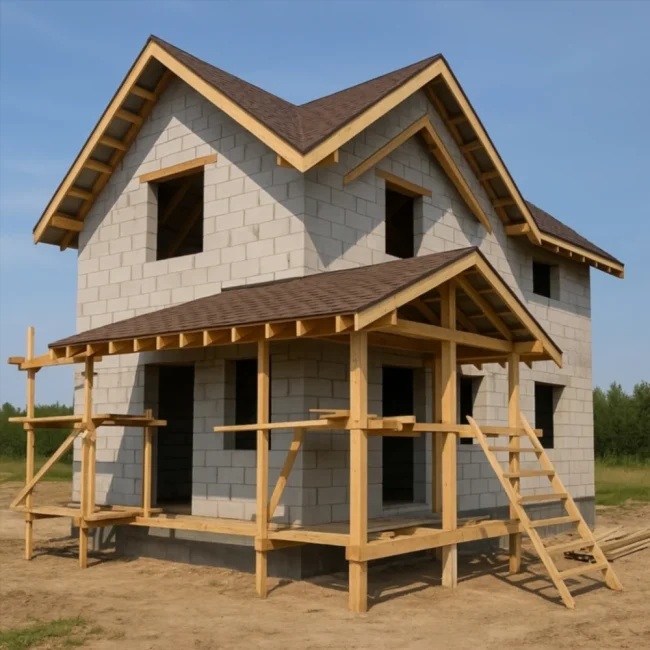
Walling
Materials:
- Aerated concrete blocks are light, warm, and easy to process;
- Brick is strong and durable;
- Wood is a natural material that needs protection from moisture and fire;
- Frame technologies are quick to erect and inexpensive.
It is important to strictly maintain the horizontality of the rows and the dressing of the seams.
Stages:
- Foundation waterproofing;
- Laying the first row;
- Window and door openings;
- Installing jumpers;
- Construction of reinforced concrete belts.
Ceilings and stairs
Flooring options:
- Wooden beams;
- Reinforced concrete slabs;
- Monolithic structures.
The choice depends on the project and budget. Wooden floors are easier to install yourself, but require careful calculations.
Stairs can be made of wood or concrete. It's best to start with simpler designs—flight staircases.
Roofing and roofing
Stages:
- Mauerlat device;
- Installation of rafter system;
- Laying the lathing;
- Installation of roofing pie (waterproofing, insulation, vapor barrier);
- Installation of finishing coating (metal tiles, soft tiles, corrugated sheets).
Don't forget to install a drainage system.
Windows and doors
It is better to order ready-made PVC or aluminum windows with double-glazed windows.
Window installation includes:
- Alignment of openings;
- Box installation;
- Foaming;
- Installation of slopes.
For the front door, it's best to choose reinforced metal structures. For interior doors, choose wood or MDF.
Communications
- Electricity supply— installation of the panel, laying of cables, sockets, switches;
- Heating— gas boiler, electric, solid fuel, heated floors;
- Water supply- well or central water supply, pump, filtration;
- Sewerage— septic tank, biostation or connection to the central system;
- Internet and low-current networks— routers, cameras, security.
It is better to entrust the work to licensed specialists, especially gas connection.
10. Interior decoration
Sequence of works:
- Rough finishing: leveling walls (plaster/drywall), floor screed;
- Laying of utility lines;
- Insulation, soundproofing;
- Finishing: painting, wallpaper, tiles, laminate/linoleum/parquet;
- Installation of plumbing and furniture.
11. Landscaping
Once the interior work is completed, you can move on to the exterior:
- Paths and sidewalks;
- Landscaping (lawn, shrubs);
- Vegetable gardens and greenhouses;
- Fence and gate;
- Canopy or garage.
12. Tips and life hacks
- Capture everything on photo/video- this will help with repairs and sales;
- Take your time- especially with finishing and engineering;
- Use levels and lasers- accuracy is important;
- Invest in quality materials;
- Don't skimp on the foundation and roof- this is the basis of durability.
Conclusion
Building a home yourself is not only a technical challenge, but also an emotional one. It's a story in which you are the architect, engineer, and builder all at once. With proper organization, discipline, and ongoing training, you can create a home that fully meets your expectations and budget.
Don't be afraid of mistakes—they're inevitable, but each one can be corrected. The key is to move step by step, plan carefully, and maintain your enthusiasm. And may the end result be a cozy, reliable, and beautiful home built with your own hands.