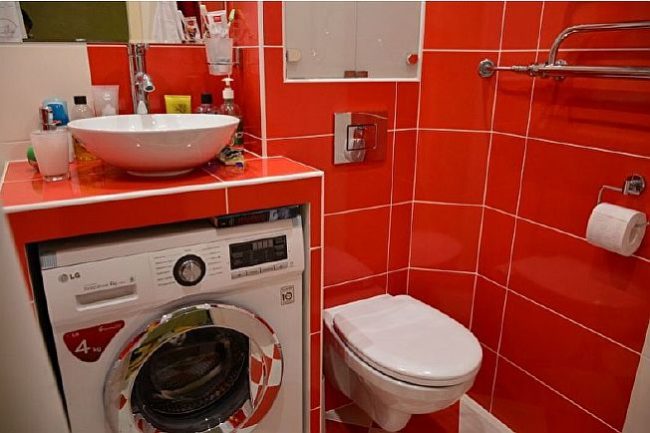
In a small apartment, it can be quite difficult to fit all the necessary appliances. A washing machine can be a significant challenge, as it seems impossible to fit into a combined bathroom, which is cramped for space with a sink, bathtub, and toilet. Recently, plumbing fixture manufacturers have offered an unexpected solution by producing ceramic bowls with a special drainage system. Installing a sink over a washing machine allows for significant savings in bathroom space.
With the advent of compact washbasins, the so-called water liliesOwners of small apartments now have the option of combining a washing machine with a sink. The plumbing market is replete with water lily pads of varying shapes and sizes. Consumers can always choose the type that best suits their needs.
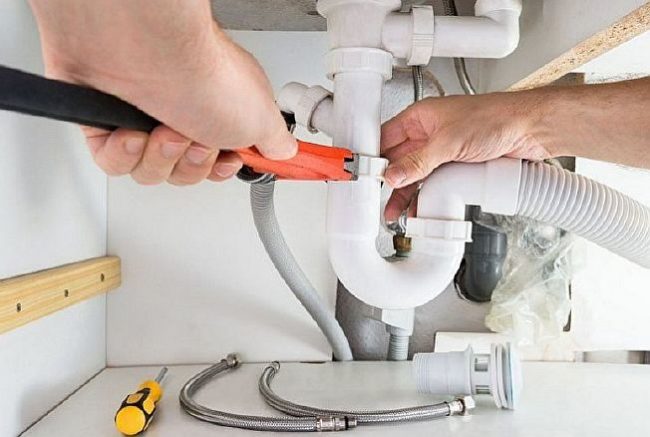
Find out how to produce connecting a washing machine to the water supply and sewerage system.
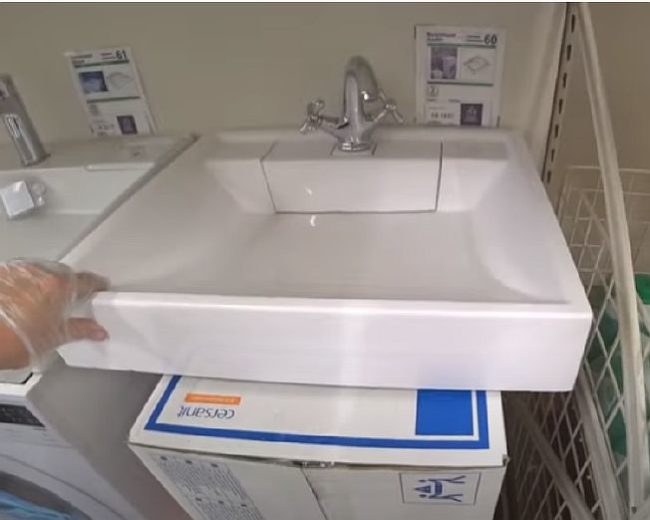
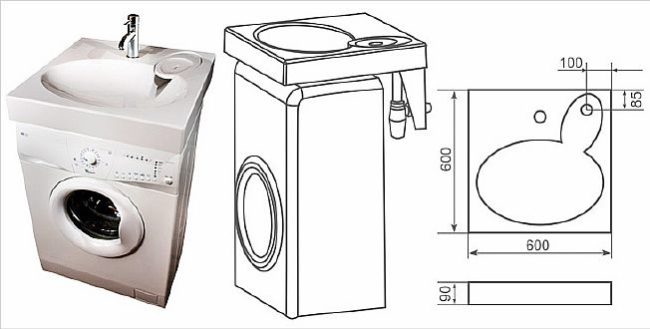
Manufacturers are constantly improving the design of compact sinks. The latest models, featuring a ramp-shaped drainage field with a horizontal slit drain outlet, are among the best-selling models of this type of sanitary fixture.
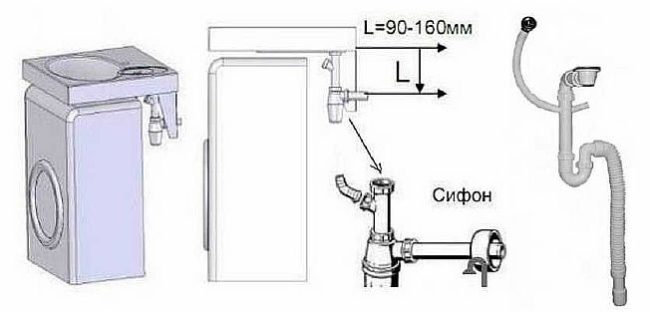
Consumers are interested in how to install a sink over a washing machine. This article aims to answer this question. To do this, you need to attach brackets to the wall, place the sink on them, connect the hoses to the faucet, install a trap, and route the drain pipe to the sewer. More details on how to properly install the sink will be discussed below.
- Installing a sink over a washing machine – the pros and cons of the solution
- Pros
- Cons
- Types of shells
- Dimensions
- Bowl shape
- Material
- Drain location
- Mounting method
- Brackets
- Anchor bolts
- Bowl insertion
- How to choose a sink for a washing machine
- Installing a sink over a washing machine
- Preparing for installation
- Tool
- Materials
- Marking the locations for fastenings
- Installing brackets
- Assembly, installation and fastening of the sink
- Connection to water supply and sewerage
- Installing a washing machine
- Installing a built-in sink over a washing machine
- Tool
- Materials
- Step-by-step instructions for installing a sink into a countertop
- Conclusion
- Video instructions
Installing a sink over a washing machine – the pros and cons of the solution
Placing a water lily above a washing machine creates many conveniences in a cramped bathroom. While considering the advantages of stacking appliances, it's also worth highlighting the disadvantages of this combination. Let's take a look.
Pros
The advantages include the following:
- installing a sink above a washing machine saves space in the bathroom;
- Moving the washing machine to the bathroom allows you to free up space in the kitchen for additional appliances such as a dishwasher or freezer;
- The compact connection of the drain pipes of both devices into one unit allows for a reduction in the length of sewer lines.
Cons
In addition to the above, some disadvantages of this arrangement should be noted:
- The height of the water lily pad is fixed, which is explained by the standard vertical dimensions of washing machines. This may create some inconvenience for shorter residents;
- The horizontal part of the water lily drain slows down the removal of water into the siphon.
- A complex diagram of connecting a water lily to the sewer and water supply.
Types of shells
These ceramic products are distinguished by their diversity. They can be categorized by the following characteristics:
- dimensions;
- bowl shape;
- material;
- drain location;
- mounting method;
- presence of a table top.
Dimensions
Most water lilies are rectangular. The width and depth generally correspond to the standard dimensions of a washing machine's tabletop. The height of ceramic water lilies is approximately the same: 89–100 mm, although there are exceptions. The frontal dimension is usually 600 mm, while the depth can be 600, 500 and 480 mm.
Bowl shape
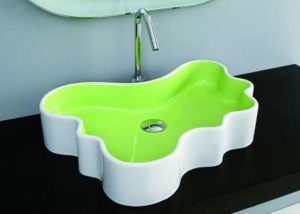
Water lilies come in rectangular, oval, and designer shapes. The interior of the bowl can be standard, shaped like an inverted dome.
There are bowls with an inner surface in the form of an inclined platform - a ramp, when the drain is not a round hole, but a horizontal slit.
Material
Leading place in this regard occupies earthenware and porcelainIn mass production, ceramic bowls are made of earthenware; they are less expensive than their porcelain counterparts. Both are beautiful, easy to clean, and virtually silent when running water from the faucet. It's important to consider the characteristics of both materials—they are fragile and heavy.
Along with these materials, basins are also made from natural stone such as granite. Water lilies made from this material are currently unavailable on the plumbing market. The same can be said about artificial stone. However, they can be used as countertop fixtures. Glass models are also attractive. Glass basins are beautiful and hygienic.
A budget option is acrylic fixtures. Their drawback is that they quickly lose their attractive appearance due to their high adhesion to various contaminants.
Designer models are made from a wide variety of materials, but due to their high price, using this type of ceramic as a "roof" over a washing machine is impractical.
Drain location
The location of the drain hole determines the clearance between the sink and the washing machine countertop. If the drain hole is centered in the bowl, the drain hole will protrude significantly from the bottom, leaving a gap of approximately 150 mm. This will not look very aesthetically pleasing.
To minimize the gap between the two fixtures, manufacturers began placing the drain hole in one of the ceramic unit's corners or in the center, facing the back wall. This not only removed the drain trap from the electrical unit but also protected it from spills.
Mounting method
Water lily manufacturers offer three mounting methods:
- installation of the bowl on brackets;
- fastening with dowels through technological holes in the lower part of the back wall of the sink;
- cutting a vessel into a tabletop.
Brackets
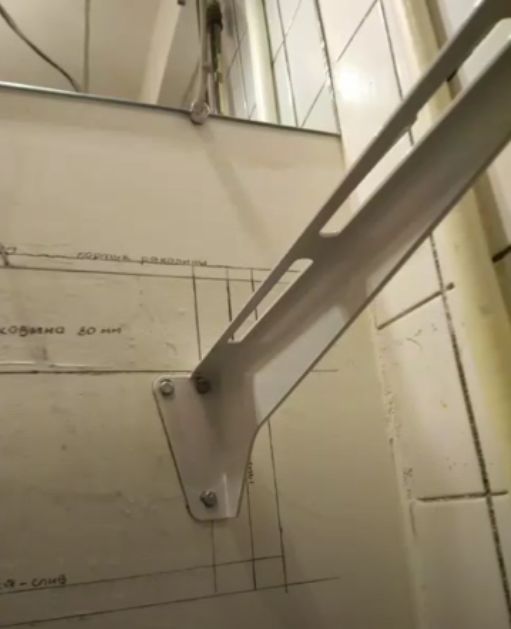
Manufacturers supply a mounting kit with the sink: two brackets with dowels and washers. The supports are two curved profiles shaped like elongated triangles with curved edges. The end bends have holes for dowels, and the longer section has longitudinal grooves.

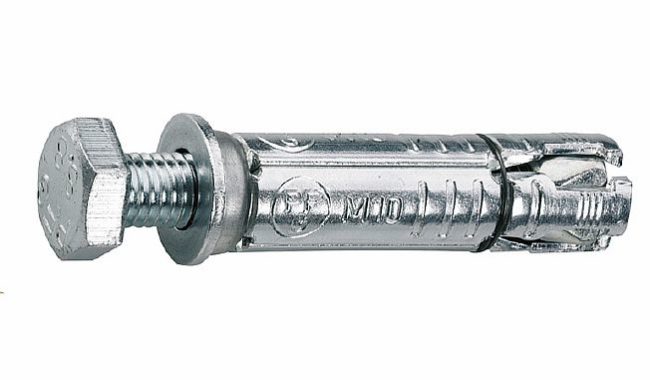
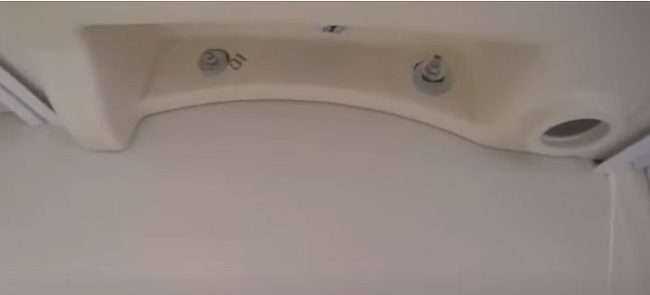
Anchor bolts
Some models are secured to the wall with anchor bolts. For this purpose, two holes are made in the back wall molding. The ceramic is reinforced in this area with the thickness of the solid wood.
Bowl insertion
There are options where a countertop is installed above the washing machine. A recess is cut into it to accommodate the bowl. This ensures that the sink doesn't overhang the machine, but is positioned out of the way, along with the plumbing and drain fittings.
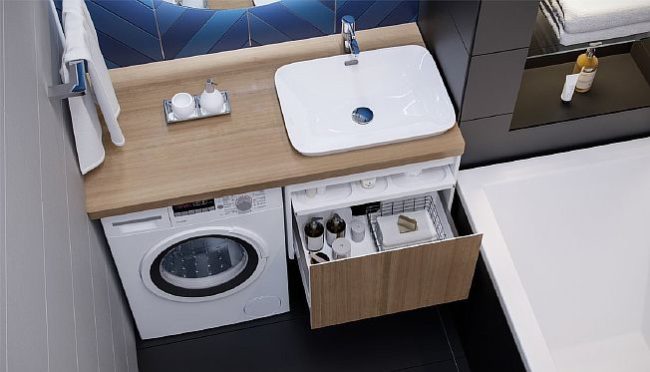
Some designers suggest installing the sink into the countertop directly above the washing machine. However, this option is quite complex due to the limited space behind the appliance, making it rarely used.
How to choose a sink for a washing machine
To choose the right water lily, you should check the dimensions of your washing machine. To do this, take a tape measure and measure the height, width, and depth. The most important dimension is the lid. Washing machines typically have a width of 500 or 600 mm, but the depth can vary: 600, 500, or 480 mm.
Manufacturers also supply narrow units to the home appliance market, with depths ranging from 320 to 470 mm. The cabinet height of almost all machines is 850 mm. Some front-loading machines are 700 mm high.
Knowing the dimensions of the washing machine lid, the ceramic is selected in such a way that the water lily along the entire perimeter covers the dimensions of the unit.
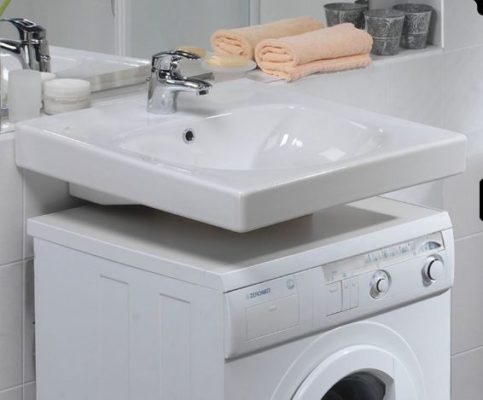
The ideal option is to have the ceramic surface protrude 10–15 cm above the appliance's front. This allows for easy washing without the risk of spilling water on the appliance's front.
As for the back side of the bowl, it is desirable that it hangs over the machine, covering the siphon and drain pipe from above as much as possible.
Installing a sink over a washing machine
The installation of the sink occurs in several stages:
- Preparing for installation.
- Marking the places for fastenings.
- Installing brackets.
- Assembly, installation and fastening of the sink.
- Connection to water supply and sewerage.
Preparing for installation
You can begin installing the water lily after you have prepared the following tools and materials.
Tool
- level or laser level;
- hammer drill;
- spanners and socket heads;
- marker;
- tape measure, ruler.
Materials
- sink;
- two water hoses with fittings;
- mixer;
- watering can with a neck and a branch pipe;
- siphon;
- corrugated or plastic pipes for sewerage;
- FUM tape.
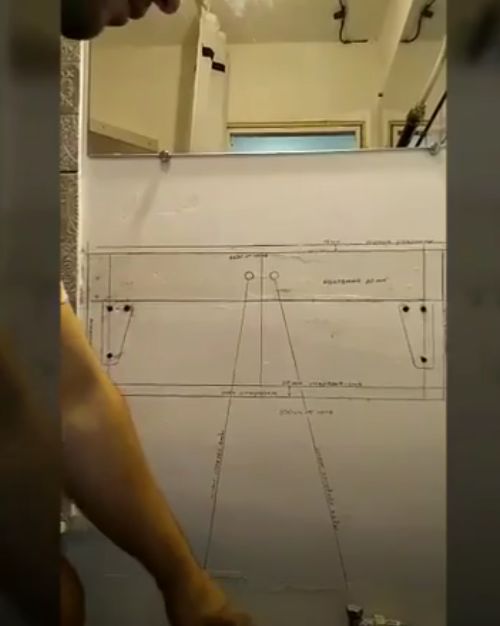
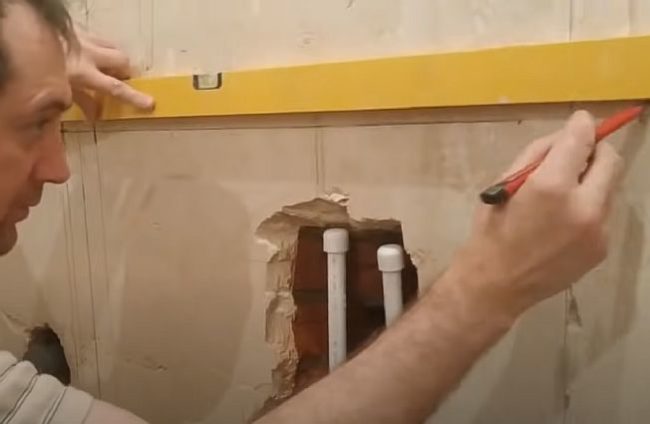
Marking the locations for fastenings
When determining the washing machine's height, start from the vertical dimension of its body (850 mm). Taking into account the thickness of the ceramic appliance, the top line of the bowl is marked at a height of 90–95 cm from the floor. Experience shows that this position of the bowl will be comfortable for most adults between 158 and 180 cm tall. The markings are performed in stages.
- They remove the machine from the bathroom.
- Markings are made on the wall using a laser level.
- Use a marker to draw a horizon line on the top surface of the machine, measuring its height vertically.
- Next, draw a line indicating the level of the bottom and top of the plumbing fixture.
Installing brackets
- Take the brackets and place them against the wall relative to the marked dimensions of the water lily. Mark the anchor locations by tracing the mounting holes in the vertical bracket surfaces with a marker.
- Using a hammer drill, make recesses at the marked locations on the wall—three holes on each side. Plastic anchors are inserted into the holes. Brackets are placed against the holes with nylon inserts.
- Screws are driven into the dowels. The screws are finally tightened with a wrench or socket.
Assembly, installation and fastening of the sink
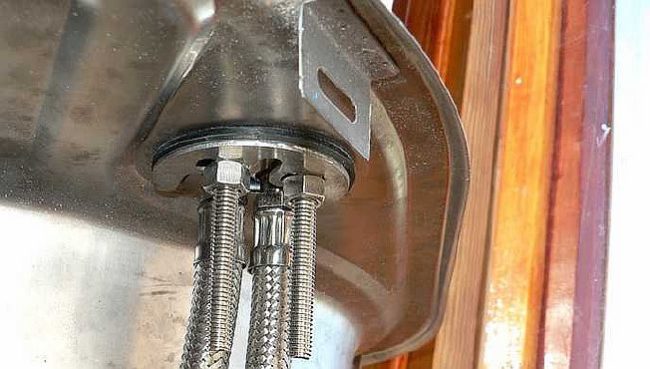
- Two hoses are screwed into the faucet. This can be done manually, then tightening the nuts with a wrench.
- The lower part of the mixer is inserted into the mounting hole of the water lily.
- The hoses are lowered down. The faucet is secured by tightening the nuts onto the guides through the mounting bracket.
- A ceramic bowl is lowered onto the brackets.
- The ceramic has mounting cavities at the bottom into which plastic inserts with threaded holes are inserted.
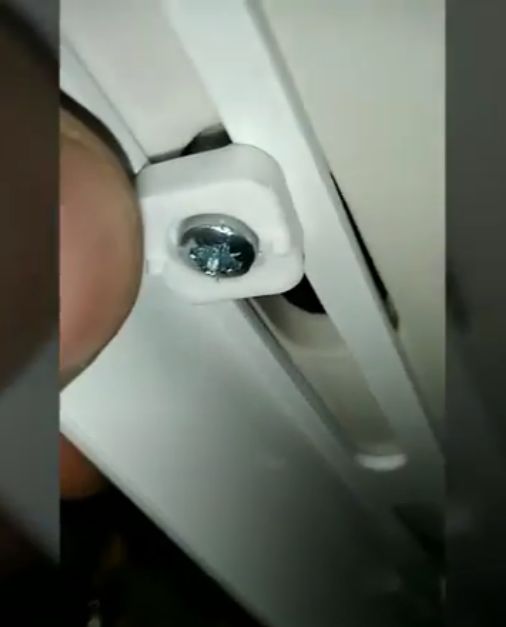
- Screws with washers are screwed into the plastic fasteners, which, resting against the edges of the cavities, securely fix the ceramics.
Connection to water supply and sewerage
- Tees are cut into the cold and hot water pipes.
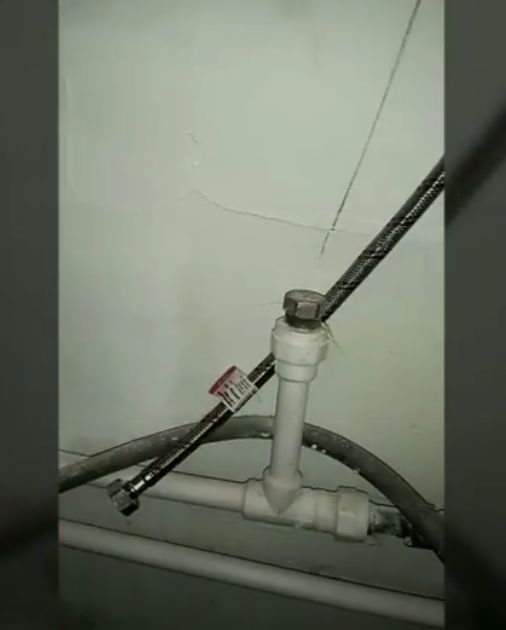
- A siphon with a drain pipe is connected to the device.
- A tee is cut into the sewer pipe and a drain pipe is connected, the upper end of which is connected to the outlet pipe of the siphon.
- Flexible hoses of the mixer are connected to the vertical branches of the tees.
Installing a washing machine
- The rear wall of the washing machine is moved as close to the wall as possible to make it easy to restore connections to the cold water and sewer pipes.
- The plug of the electrical cord is inserted into the socket.
- The machine is completely pushed under the sink. Check that the connections are correct, ensuring that the ceramic overhang is even on all sides.
- Turn on the wash cycle with a load of laundry. Turn on the hot and cold water faucets. Monitor the machine's operation and the water draining from the lily pad.
The video below shows the entire process of installing a sanitary vessel over a washing machine:
Installing a built-in sink over a washing machine
The advantage of an undermount sink is that it doesn't need to be supported by brackets, secured with special fasteners, or hung with anchor bolts. There's no need to purchase a specially designed basin, as any bowl shape can be lowered into the cutout, where its edges rest on the countertop. This leaves free space underneath for installing plumbing fixtures.
Before installing the sink correctly, you will need to prepare the materials and tools necessary for the work.
Tool
- Roulette, marker.
- Laser level.
- Hammer drill.
- Drill.
- Electric jigsaw.
- Circular saw.
- Screwdrivers, wrenches.
- Hacksaw, knife.
Materials
- Chipboard or MDF board 40–50 mm thick.
- Sink.
- Mixer.
- Flexible hoses (hoses in metal braiding).
- Drainage fittings (drain neck, siphon, corrugated pipe, fittings, sealing gaskets, etc.).
- Dowels.
- Two tees for hot and cold water.
- Tee for draining into the sewer.
- Silicone sealant.
- Masking tape.
To successfully complete the installation of a built-in sink over a washing machine, we recommend following the steps in the following instructions.
Step-by-step instructions for installing a sink into a countertop
- Measure the distance above the washing machine between opposite walls or between the bathtub and the wall.
- The size is transferred to a chipboard or MDF board – this will be the length of the tabletop.
- A line is drawn on the wall where the top surface of the slab will be.
- The width is taken to be 5–10 cm larger than the depth of the machine.
- The slab is cut to size with a circular saw. To be on the safe side, you can choose and purchase a ready-made countertop for your kitchen sink in the required dimensions at a hardware store.
- The sink is turned upside down and lowered onto the stove.
- It is outlined around the perimeter with a pencil.
- From the contour line of the marking, step back inward by 1–2 cm and repeat the shape of the marking at a smaller size.
- To begin cutting with a jigsaw, a starting hole is drilled with a drill.
- A jigsaw blade for shaped cutting (blade marking "O") is inserted into the jigsaw because the cut will be along an oval.
- They cut out the opening for the sink with a jigsaw, supporting the sides of the cut so that the cut-out fragment does not collapse down prematurely, breaking off pieces of the solid wood.
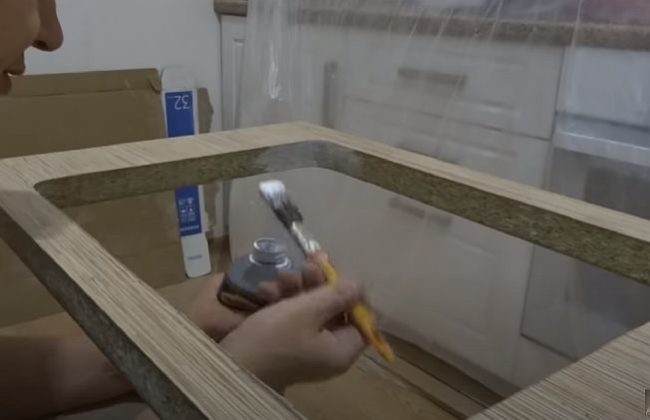
- The ends of the chipboard, both the outer ones along the perimeter of the tabletop and inside the opening, are treated with silicone.
- The brackets are applied to the walls, marking the mounting locations with a marker.
- Using a hammer drill, drill out the mounting holes for the dowels, and install the supports by driving screws into the plastic through the holes in the brackets.
- The table top is mounted by lowering it onto the installed brackets.
- The areas where the slab meets the walls are treated with silicone.
- A faucet is installed in the sink opening. Two hoses are screwed into it (see above).
- I insert a neck with a grate into the drain hole.
- The siphon is assembled and connected to the sink drain using fittings.
- Before installing the countertop, the plumbing is prepared. Tees are installed into the hot and cold water pipes.
- The tee is cut into the sewer pipe.
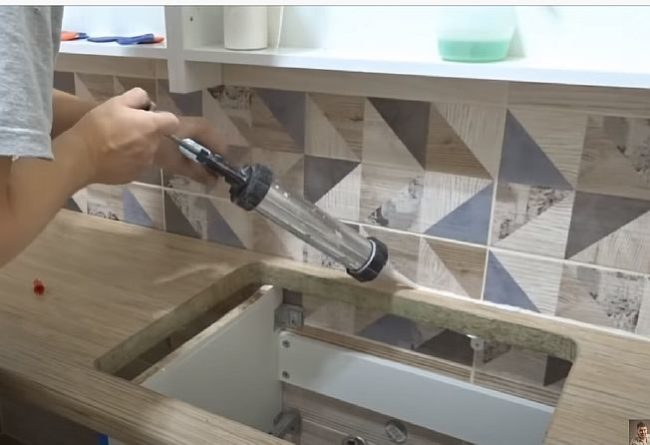
- Silicone is applied around the perimeter of the inverted sink.

- The sink is lowered into the opening of the countertop.
- The corrugated pipe with a rubber sealing ring from the siphon is lowered into the hole of the tee branch of the sewer pipe.
- The nuts of the flexible supply hoses from the mixer are screwed onto the threads of the hot and cold water tees.
- The washing machine is pushed under the countertop, connected to the water supply and sewer lines, and the power cord is plugged into the outlet.
- After turning on the hot and cold water, check all connection points for leaks.
- It is worth noting the following circumstance: if there was an old sink at the installation site, then it is easier to connect the new bowl to the previously connected communications.
Conclusion
A homeowner without experience shouldn't attempt to install a sink over a washing machine themselves. The best option is to contact professional plumbers. They will quickly install the sink, connect all utilities, and provide a warranty for the work performed.


This article was helpful. We were just about to install a washing machine and, to save space, wanted to install it under the sink. But after reading how problematic it was, we chose a different installation option and everything is fine.