I receive the most questions from suburban property owners about utility lines. In this article, I'll explain How natural ventilation is organized in a private home, its design, and operating principles.
Let me touch on the issue pros and cons, installation methods, features, and varieties. I'll give advice on which rooms should be treated with natural ventilation, and where it's best to forego it.
- Purpose and design of natural ventilation
- The operating principle of the utility network
- Types of natural ventilation systems
- Features of ventilation types
- Pros and cons of natural ventilation
- When to choose or refuse natural ventilation
- Methods of arranging natural ventilation
- Window valves
- Wall ventilators
- Anemostats
- Wall valves
- Ventilation grilles
- Diffusers
- Installation of a wall ventilator
- Answers to frequently asked questions
- Useful video
Purpose and design of natural ventilation
Before we move on to the technical aspects, let me briefly explain the purpose of natural ventilation. The system is part of the utility network that provides air exchange in a private home.
Fresh air comes in from the street, and streams of carbon dioxide and other pollutants come out of the room.
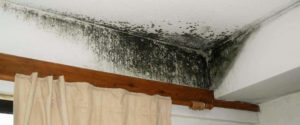
Without ventilation in a private house, the rooms will be:
- suffocating, stale air saturated with carbon monoxide;
- high humidity;
- unpleasant odor;
- dust, allergens, pathogenic bacteria;
- fungus growing on the walls and ceiling in the form of dark spots.
The ventilation system is simple in design due to the lack of equipment. The engineering system consists of supply and exhaust ducts. While apartment ventilation is complicated by the presence of common building ducts, air ducts are not necessary in a private home.
Air intake and exhaust are organized through cracks in windows, doors, and specially designed openings in the walls or ceiling.
The operating principle of the utility network
The system operates on gravity-based air exchange principles. No equipment, machinery, or electrical connection is required for operation. Air circulation is achieved through the difference in temperature and pressure between the indoor and outdoor environments.
The air exchange scheme is as follows:
- Cool air from the street penetrates into the building through cracks in old windows, open vents, and doors. To ensure proper air flow, homeowners install a through-vent in the lower part of the walls.
- Fresh air flows between rooms through open doors and openings in the partitions for flow.
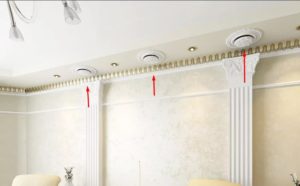
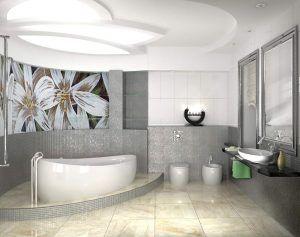
- Exhaust heat rises to the ceiling. Fresh air expels it through exhaust vents to the outside. In a private home, exhaust vents are installed under the ceiling of the dirtiest rooms: the kitchen, bathroom, toilet, or combined bathroom.

The air exchange cycle is constantly repeated. The basic operating principle of natural ventilation is the same, but it depends on secondary factors. These include:
- The temperature difference between indoors and outdoors. It's not always colder outside than inside, which leads to backdraft. This situation occurs during hot summers when a homeowner forcibly lowers the temperature with an air conditioner.
- The height of the exhaust vent. The pressure decreases with distance from the ground. The higher the vent or roof duct is located above the floor of the house, the stronger the draft.
- Wind direction and strength. Air velocity in nature increases with uneven atmospheric pressure distribution. Natural air exchange in a private home will increase when a high-pressure zone is created near the windows and a low-pressure zone is created near the exhaust hood.
Natural factors affect ventilation performance, but homeowners have little control over them. However, there are ways to improve natural draft.
Types of natural ventilation systems
Natural ventilation systems are typically differentiated based on the technology used to install them. Each type of utility system operates on the same principle, but emphasizes one air flow:
- Exhaust systemThe emphasis is on increasing the removal of air from the room through the hood to the outside.

- Supply systemThe emphasis is on increasing the volume and speed of fresh air entering the house from the street.
Ventilation only works when there's an exhaust and an inlet, so it's more accurate to call the system a supply and exhaust system. It's incorrect to focus solely on the exhaust or the inlet.
An approximately equal volume of air exchanged between the two is required—as much as enters and exits the room in one cycle. Exceptions to these air volumes are permitted in industrial settings. When toxic substances are emitted in one of two adjacent rooms, the exhaust air volume is increased relative to the supply air volume.
A negative pressure is created in the work area. If positive pressure is required in a specific room, the supply air pressure is increased relative to the exhaust air pressure. No exceptions apply to private homes.
Features of ventilation types
Natural ventilation in a private home can be either spontaneous or human-assisted. In terms of air exchange management, two types of utility systems are commonly distinguished:
For a private home, I recommend organized ventilation. The utility system is characterized by stable operation. An unorganized system cannot be considered ventilation. The process is more accurately described as ventilation or chaotic air movement, which leads to heat loss in a residential building.
Pros and cons of natural ventilation
Natural ventilation hasn't been used in modern private housing since 2004. In comfortable 2-3-story mansions with swimming pools, saunas, garages, and other amenities, utility systems are ineffective.
New projects are being developed with a ducted forced-air system. Natural ventilation is used in an older, single-story private home with limited square footage.
We will determine whether to prefer or reject a utility network in our home by analyzing the pros and cons.
Pros and cons:
- easy DIY installation;
- minimum costs for installation and maintenance of the system in a private home;
- lack of energy dependence;
- silent operation due to the absence of fans;
- the ability to move and change the number of supply and exhaust devices.
- dependence of system performance on weather conditions;
- increased heat loss in a private house;
- low level of sound insulation;
- the appearance of drafts;
- creating reverse thrust.
These disadvantages suggest that natural ventilation is more cost-effective for a summer cottage or seasonal country house. In a private building intended for permanent residence, mechanical ventilation is more appropriate.

When to choose or refuse natural ventilation
The smooth operation of natural ventilation is always a question mark. Air exchange may be higher or lower than normal. A utility system is suitable for a private home when:
- a private residential building is built in a region with a moderate or cold climate, where conditions for constant draft are created;
- The house is not protected from wind currents by neighboring buildings or tall trees of a dense forest.
In southern regions, it's warmer outside than inside an air-conditioned home. Conditions for creating draft are lacking. In two- and three-story mansions and attics, natural ventilation won't provide the air exchange rates recommended by SNiP.
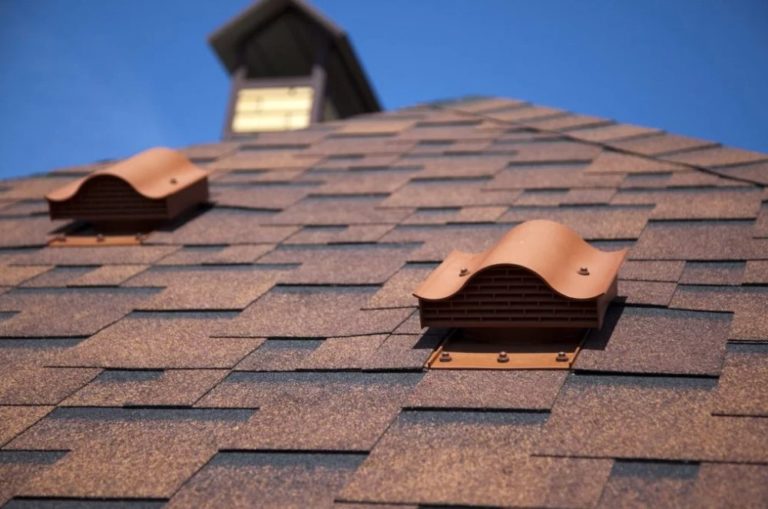
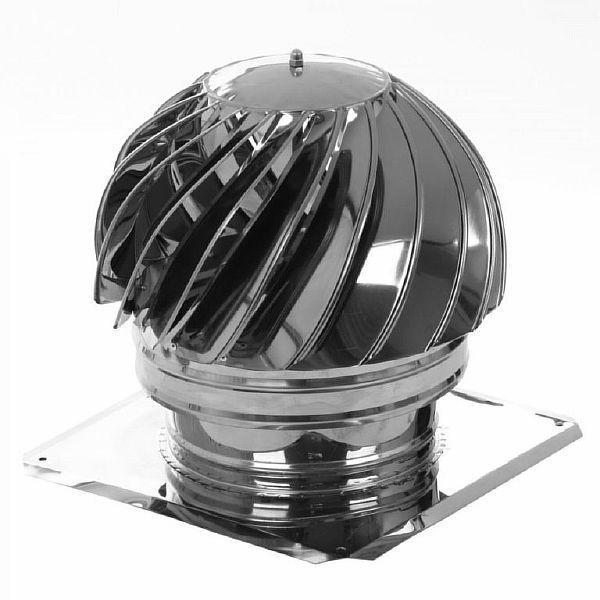
Natural ventilation removes moisture from the basement through vents in the foundation. A ventilation system is also essential in the attic and roof. Roof aerators are installed for ventilation. Dormers are installed in the attic.
Methods of arranging natural ventilation
To establish a well-organized utility network in a private residential building, additional devices must be installed. Supply and exhaust units are designed for a specific flow rate.
The performance is specified in the device's instructions. Select the number and parameters of the devices based on the recommended air exchange rates for each room:
Standards and air exchange rates are regulated by SNiP 41-01-2003 and SP 60.13330.2010. According to GOST 30494-2011, the CO level in a residential building2 should be 400-600 ppm per 1 m3 air. Air exchange rate per 1 hour according to SNiP 41-01-2003: for the kitchen – 12, living rooms – 1, utility rooms – 0.2 times.
Window valves
These devices are classified as air supply devices, called ventilators. Cheaper models are equipped with a manually controlled damper and are more suitable for installation in public buildings.
For a private home, I recommend window valves with automatic control. These devices are equipped with a control sensor that operates without a power supply.
Ventilators are classified by installation type:
- Surface-mounted dampers for installation without milling. These devices are designed for mounting on the top or side of an opening window frame without drilling through holes.
- Recessed valves for milled installation. These devices are designed for mounting on a fixed window by drilling through the frame.
Typically, each room in a private home has one window with an opening transom. To avoid drilling into the frame, I recommend installing an overhead vent. To install the ventilator, follow these steps:
- Unpack the valve from its original packaging and read the manufacturer's instructions. Test the housing against the frame mounting location and mark the location with a marker.

- At the marked locations, cut the seal on the PVC window profile with a knife. Remove a piece of rubber equal to the length of the ventilator body.
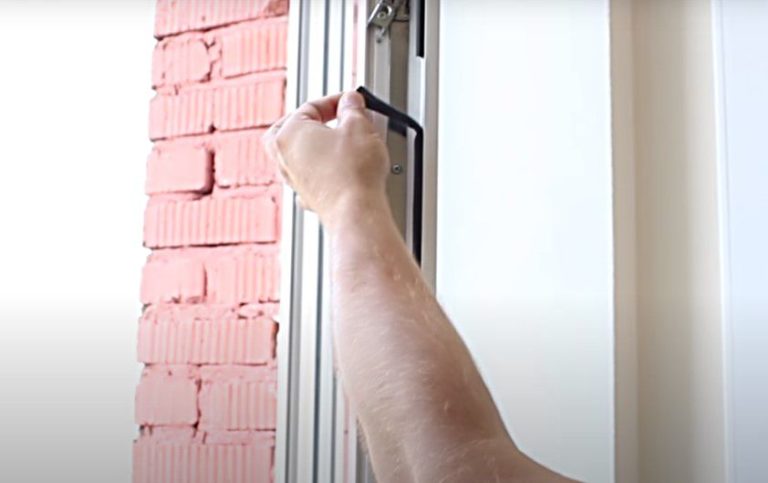
- Attach one part of the valve body intended for indoor installation to the PVC profile. This is usually secured with three screws.
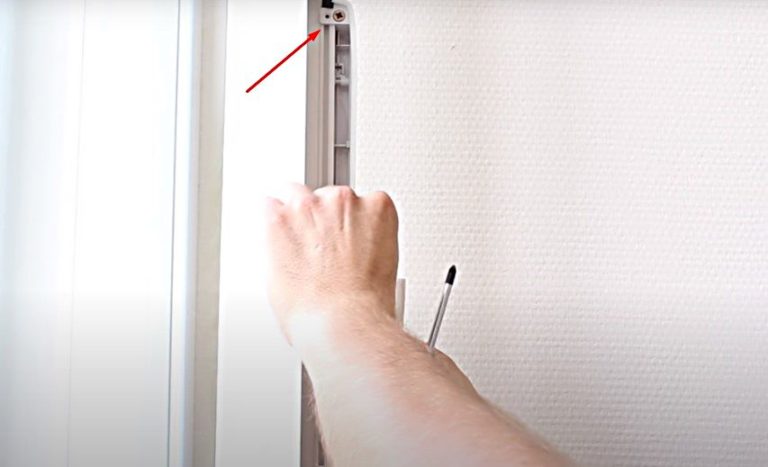
- Glue the new seal included with the valve in place of the removed rubber strip. Due to its thinner thickness, the strip will not fit tightly against the mating profile. The resulting gap will allow air from outside to enter the house.
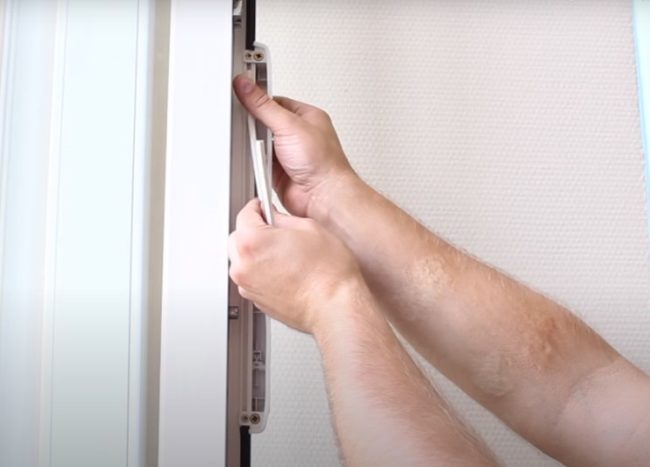
- Attach the second part of the valve body to the frame from the outside. Replace the rubber seal in the same manner. Ensure the two parts of the ventilator body are aligned when the sash is closed.

- Close the window sash. Check the operation of the installed valve. Air should flow through the housing with the valve open.

The principle of installing a ventilator with milling is different in that through-holes must be made where the housing is attached. The valve components must be secured to the frame with screws on both the indoor and outdoor sides.
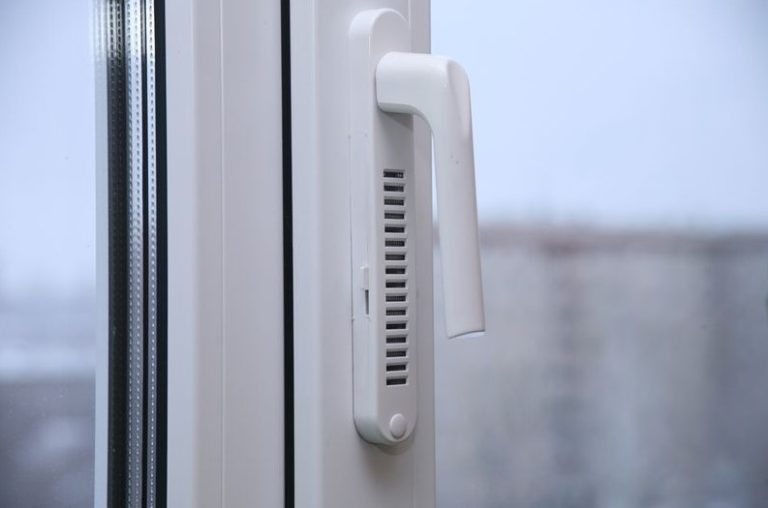
If you're renovating a private home and installing windows, order them with vents on the handles. The vents are installed at the factory. The ventilation elements are less noticeable on the window and look neater.
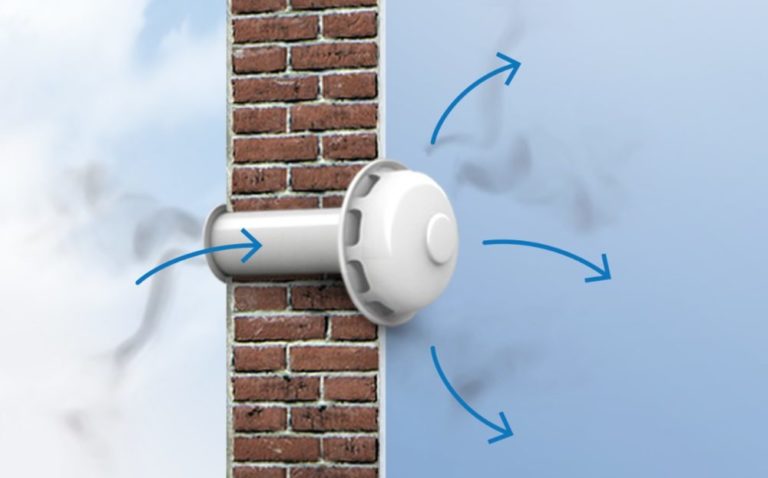
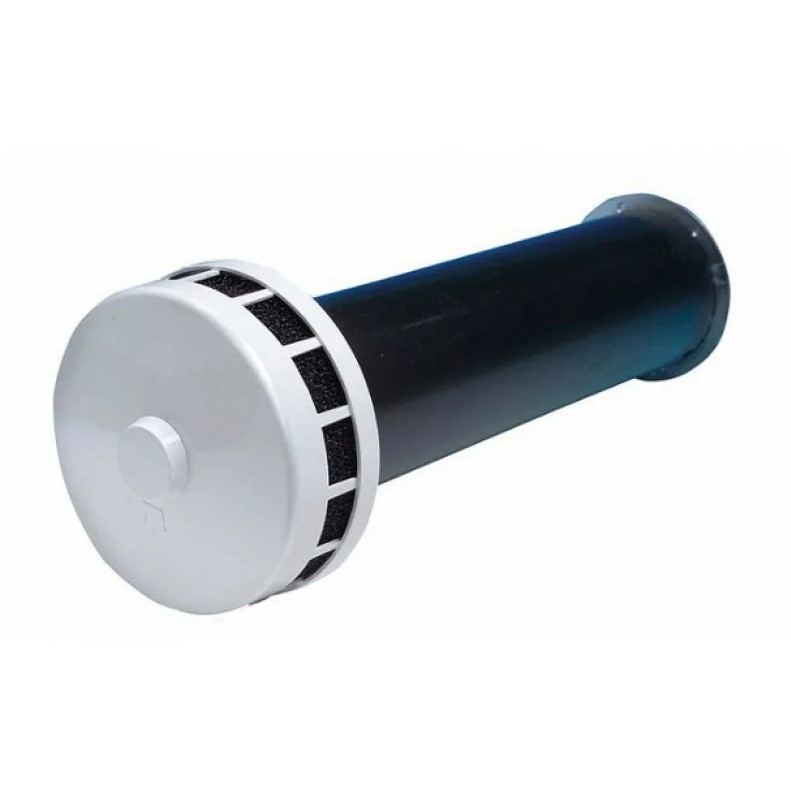
Wall ventilators
Window vents are suitable for small rooms. In a large private home, these units won't provide sufficient air flow. For flawless natural ventilation, I recommend considering wall valves.
The operating principle is similar to window ventilators, but due to their larger size, the devices have a higher throughput.
Air flow regulation is performed manually or automatically, depending on the model. Wall valves are available as supply, exhaust, and supply-and-exhaust models.
Anemostats
The simplest ventilator consists of a housing and a disc-shaped air valve with an adjustment mechanism. The shape of the disc determines which direction the device releases air:
By moving the disc valve you regulate the volume of air passing through. closed position of the anemostat does not allow streams to pass through.
Wall valves
The ventilation unit consists of a housing with an air valve installed inside. On the outside, a grille or mosquito net is installed to prevent insects from entering the house.
A dust filter can be installed on the room side. A wall-mounted natural ventilation valve operates on the same principle as an anemostat or window ventilator. When closed, the device prevents air flow.
Ventilation grilles
Decorative ventilation elements are installed on the vent. The duct can be used for either exhaust or supply. The grille prevents rodents and large debris from entering the duct.
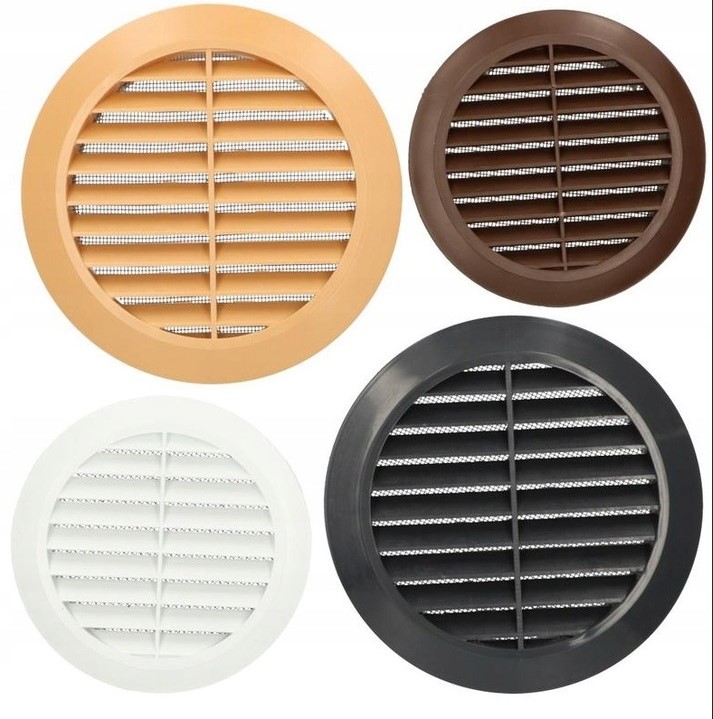
Inside a private home, use grilles to cover the openings in the interior partitions where the air flow ducts are located. These ducts are designed to allow natural air flow between rooms.
Diffusers
The diffuser is an improved version of the ventilation grille. It is additionally equipped with a static pressure chamber and an impeller. Adjustable slats on the grille are convenient for redirecting airflow.
Diffusers are most conveniently placed on interior partitions in a private home, where there are openings for air flow. You can also install the device on the supply or exhaust duct.

The diffuser mixes airflows of different temperatures, preventing the formation of stagnant and cold zones. The device reduces the noise generated by powerful air flows passing through the ducts.
Installation of a wall ventilator
The installation principle for wall vents is the same for all models. There are some nuances depending on the model's design, but they are too minor to warrant separate reviews. Let's look at the general principles of installing a wall vent:
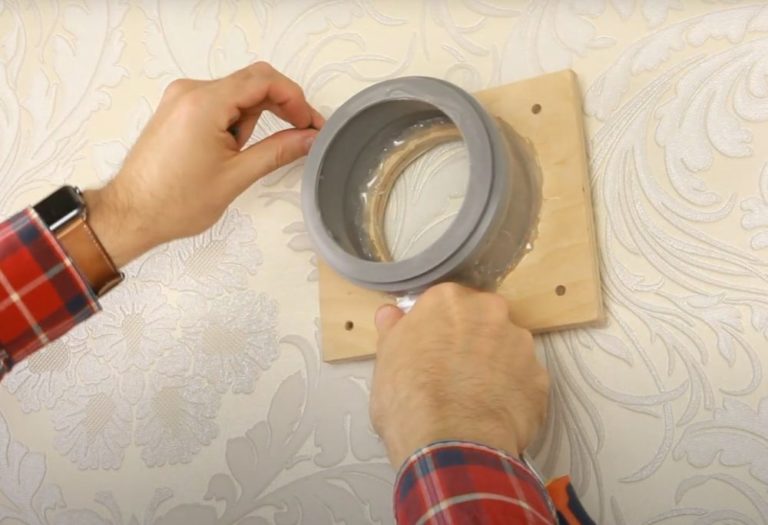
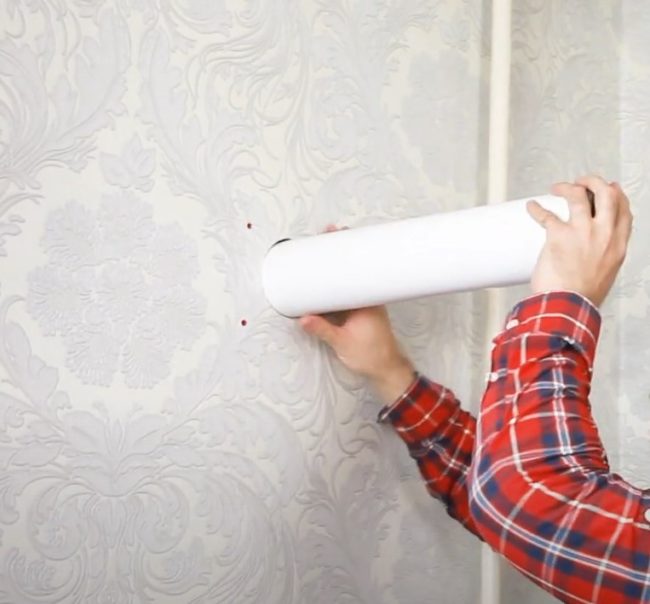
- Mark the location on the wall where the ventilator will be installed. Use the template to mark the area and drill mounting holes using screws and plastic anchors.
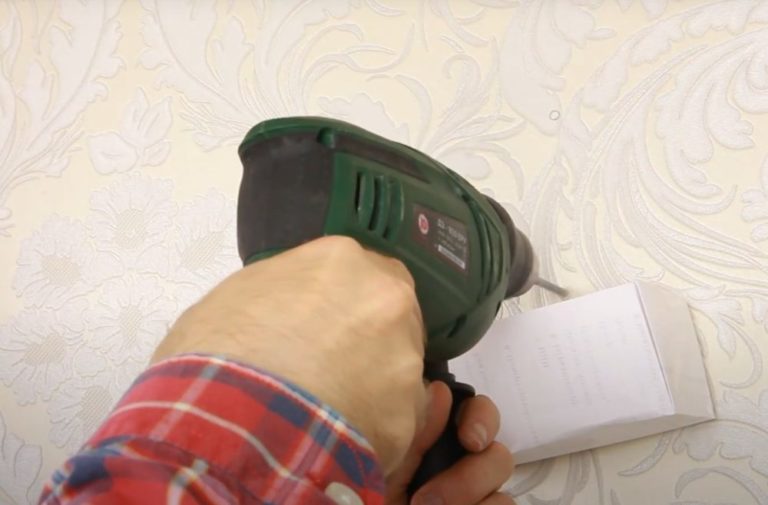
- Insert plastic anchors into the drilled holes. Secure the drilling template to the wall for the air duct with screws.
- Attach a vacuum hose to the template to reduce dust dispersion throughout the house. Using a drill with a hole saw of the appropriate diameter, drill a hole through the wall for the air duct.
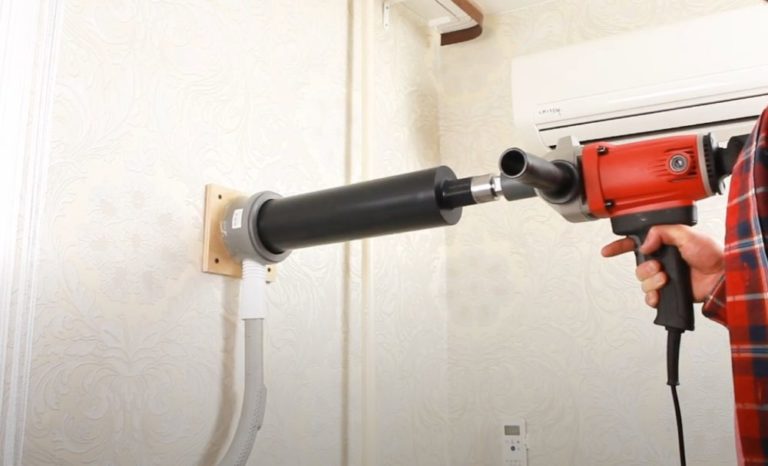
- Remove the installation template from the wall. Insert the air duct with the insulating sleeve included with the valve into the through-hole. Trim any protruding edges with a grinder.
- Attach the air vent to the wall on the room side. Typically, the device consists of an internal mechanism and a decorative housing.
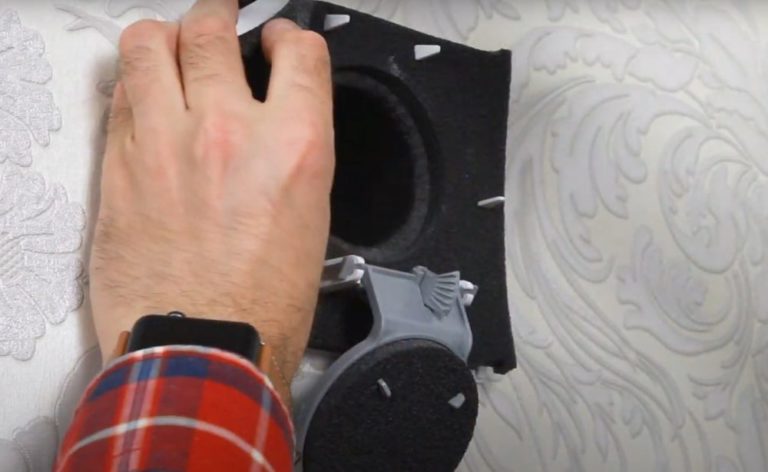
- From the street side, cover the hole in the wall with a decorative grille.

Install grilles and diffusers for air flow between rooms using the same principle. Drill a hole through the ventilation opening in the interior partition. Insert a sleeve to reinforce the hole. Cover the ventilation openings on both sides with grilles.
Answers to frequently asked questions
In natural ventilation, fresh air flows through the supply openings, and stale air is removed through the exhaust duct. Circulation occurs without mechanical force due to temperature and pressure differences.
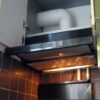
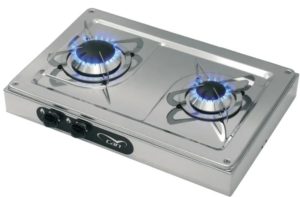
It's best to install a mechanical exhaust hood with a fan in the kitchen with a capacity of 200-500 m³/hour. Exit the natural exhaust duct through the roof so that the end of the pipe reaches a low-pressure area.
The duct's capacity must ensure the passage of an air volume that meets the standards for a given room. Parameters are determined through calculations. The average width-to-length ratio of the duct is 1:3.
A natural ventilation system is suitable for private summer cottages, seasonal country houses, and outbuildings.
Natural ventilation refers to air exchange without the use of fans. Air circulates due to temperature and pressure differences.
In a ventilation system, aeration refers to natural ventilation and oxygenation. Aerators are installed on the roof to ventilate the sub-roof space.
A range hood can't completely remove gas leaks and dirty air from the kitchen. In addition to a mechanical exhaust hood, natural ventilation is necessary.


