The banya maintains high humidity and temperature for its treatments. While these conditions are comfortable for the user, they are destructive to the wooden elements of the structure. When humidity and temperature levels exceed the norm, even visitors to the banya complex begin to experience discomfort.
To maintain favorable conditions in a sauna on a regular basis, you need to know how to properly install ventilation. Whether you install it yourself or hire professionals, the installation principles are the same. Ventilation in a sauna is essential for air exchange and moisture removal.
A ventilation system is essential in the steam room and changing room.
This is achieved by installing special vents (also known as air vents). Fresh air enters the room through openings in the lower part of the wall. The upper vents serve as an exhaust hood.
In addition to natural ventilation, ventilation can be forced or combined.
- What types of ventilation exist, and how do the systems operate?
- Natural ventilation system
- Forced ventilation system
- Combined ventilation system
- Rules for calculating ventilation for a home sauna
- What is the layout of the vents?
- 2 ways to create natural ventilation in a steam room
- The first method of arranging vents in a steam room is through the foundation and the wall
- Video instructions
- The second method of arranging vents in the steam room is with sleeves through the foundation and the pipe outlet on the roof
- Video instructions
- Installation of combined ventilation in the dressing room
- Video instructions
What types of ventilation exist, and how do the systems operate?
There are 3 types of ventilationThe operating principle of any system is based on air exchange. Fresh air flows from the outside into the sauna through the lower openings.
In the room, air masses are heated, rise to the ceiling together with the vaporous moisture and are discharged outside through the exhaust vent.
Natural ventilation system
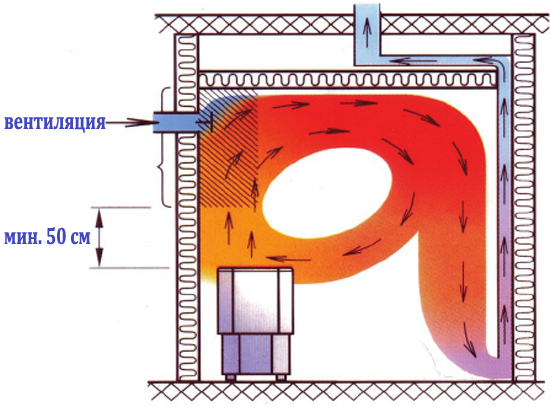
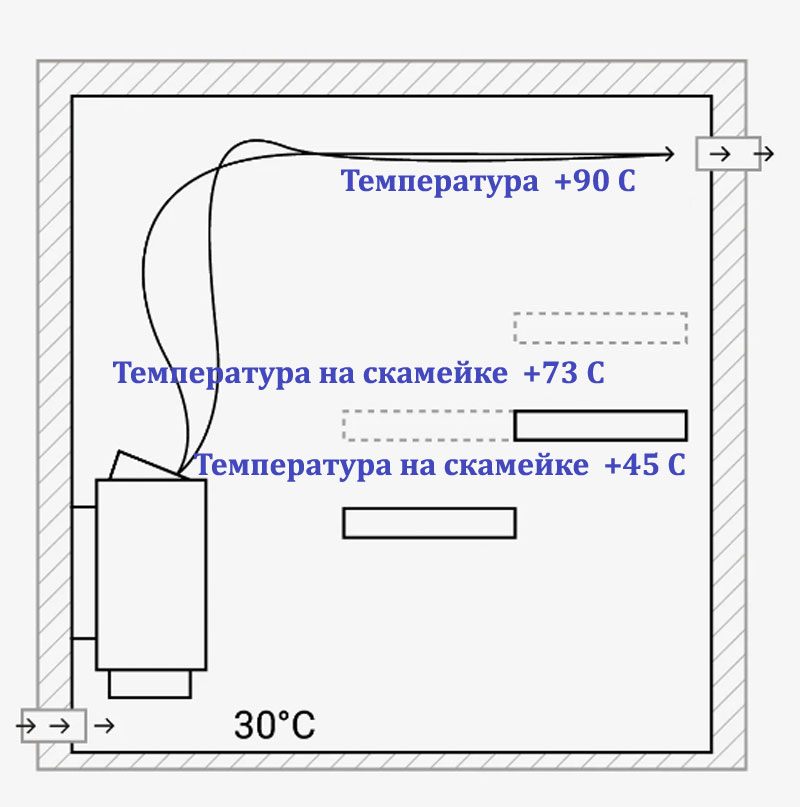
Air circulation is achieved by the difference in temperature and atmospheric pressure between the sauna's interior and the outside. Cold air enters through the lower vents. Heated air, by the laws of physics, rises to the ceiling inside the sauna and is expelled through the upper vents, along with moisture vapor.
The user regulates the circulation intensity with dampers. This simple, natural system is ideal for home saunas and is convenient for use in steam rooms, where drafts are avoided.
Forced ventilation system
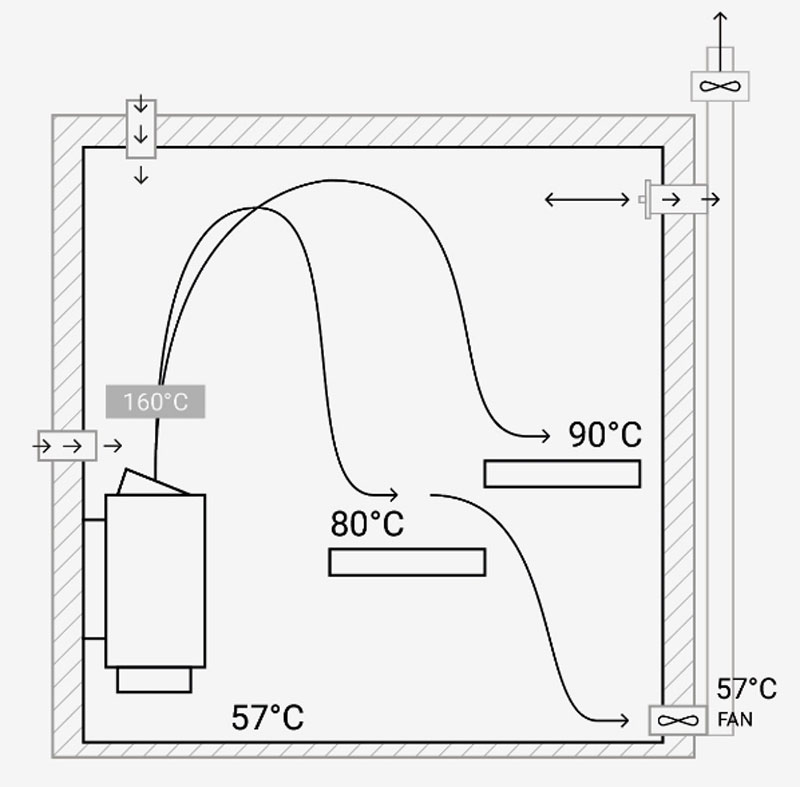
Air circulation is achieved by fans. Electrical equipment is installed on the lower vents, drawing air from outside and pumping it into the sauna. The upper vents are equipped with exhaust fans, which expel heated air and moisture vapor outside the sauna.
Read: Bastu ventilation for a bathhouse: diagram, device and self-assembly.
Functional, expensive forced-flow systems can be controlled remotely and are equipped with automatic dampers, sensors, and an electronic unit.
Forced ventilation isn't necessary for a home sauna, unless it's in the basement. It's typically installed in public sauna complexes with high traffic volumes.
Combined ventilation system
The system is united natural and forced air exchangeFans for the appropriate type of operation are installed on one type of vent—supply or exhaust. The second type of vent is left unattended. Only a damper is installed to regulate the air flow.
A combined system is used in home saunas when natural ventilation is inadequate. It is typically installed in the dressing room to quickly remove large volumes of steam entering the room from the steam room.
Rules for calculating ventilation for a home sauna
If you've decided against hiring professionals and are considering building a natural or combined ventilation system yourself, do the calculations before construction begins. Start by determining the vent sizes:
- in the Finnish system, make the inflow with a diameter of 130 mm, the exhaust – 100 mm;
- in the Swedish system, make the inlet section 100 mm, the outlet section 80 mm;
- In the Russian system, make the inlet and outlet pipes the same diameter – 100 mm.
Calculate the number of vents for each room. Per 1 m3 the space of the bathroom must be organized 24 cm3 exhaust air ducts. The cross-sectional area of a 100 mm diameter air duct pipe is 78.5 cm2One element is enough for a room volume of 3.27 m3.
Calculate the actual cubic meters of the room you're ventilating. For example, the width, length, and height of a steam room are 2 meters. The total volume of the room is 8 m3.3Divide the figure by 3.27 to get 2.45. Rounding up, you'll find that a steam room with the given parameters requires three 100mm diameter air ducts.
What is the layout of the vents?
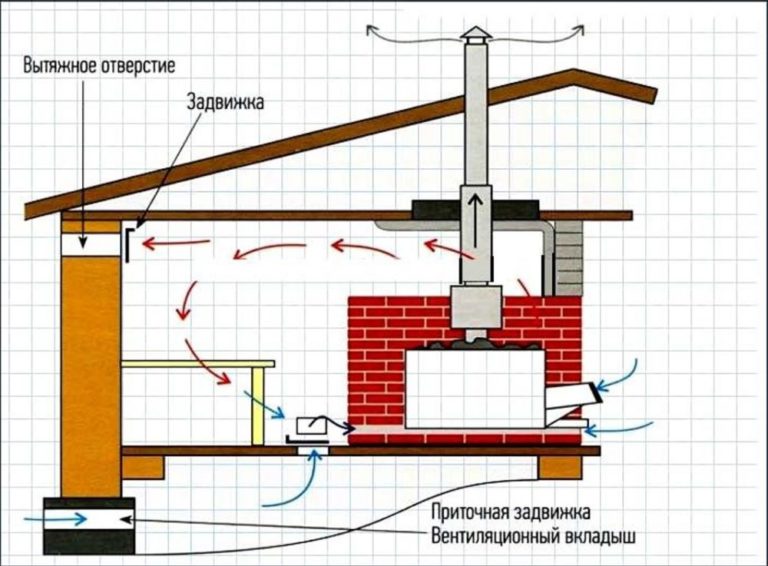
Position supply windows approximately 20-30 cm from the floor. Install exhaust vents in the wall at a similar distance from the ceiling. If exhaust ducts are installed, route them through the ceiling and roof.
There are 4 vent placement schemes:
- The inlet is next to the stove - the heater, and we install the exhaust hood on the opposite wall.
- The air intake is on one wall, and the exhaust is provided through the working stove. The heater is located on the opposite wall.
- An air inlet near the stove and additional gaps in the leaky floor for ventilation of the subfloor space. The exhaust hood is located on the wall opposite the stove.
- Supply and exhaust vents on the same wall. This design is inefficient, but it serves as the only outlet when one wall of the steam room faces the outside.

The most effective design is considered to be one where the inlets and outlets are located on opposite walls.
2 ways to create natural ventilation in a steam room
Installing natural ventilation is a simple and inexpensive method, suitable for private saunas with a small number of users. Consider the vent layout during the design stage.
Install air inlets with a minimum diameter of 110 mm on all four sides of the strip foundation, using pipe sleeves before pouring concrete into the formwork. Fresh air from outside enters through the bottom vents. Ventilating the subfloor space dries the floorboards, extending their lifespan.
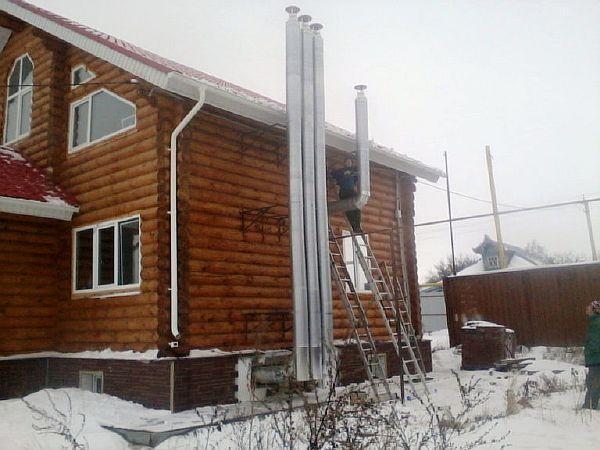
Make exhaust vents at the top of the wall under the ceiling or route the pipe through the roof. The latter option is more effective but more complex. The roof penetration will need to be sealed to prevent leaks during precipitation.
However, the efficiency of moisture vapor removal from the steam room will increase. Fine water droplets will be released into the atmosphere with the warm air.
Installing vents in the wall is easier, but some of the vapor will condense on the outer surface of the wooden bathhouse wall. Wind can also carry some moisture under the roof, increasing the risk of mold growth that can destroy the wood.
Despite pros and cons Depending on the venting method, you can install hoods in the wall or through the roof. To regulate the intensity of air circulation, install dampers.
The first method of arranging vents in a steam room is through the foundation and the wall
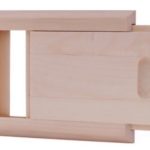
Create ventilation holes using pipe sleeves while pouring the foundation and building the sauna walls. If this isn't done in time, you can drill vents into the finished structural elements.
Insert sleeves into the holes and seal the joints with foam, concrete or other repair compounds.
To better understand how to properly install ventilation in a sauna yourself, let's look at the step-by-step process:
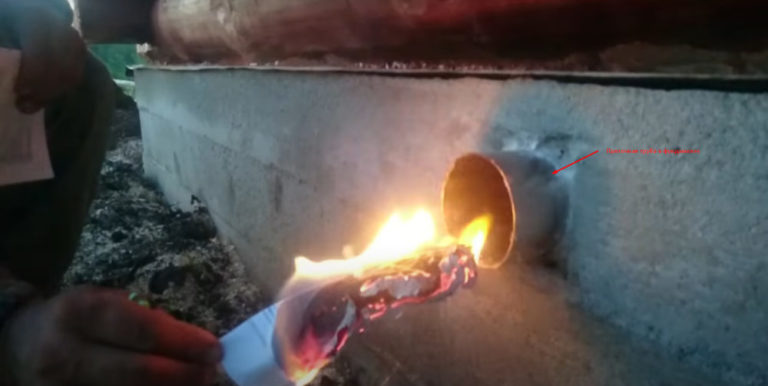
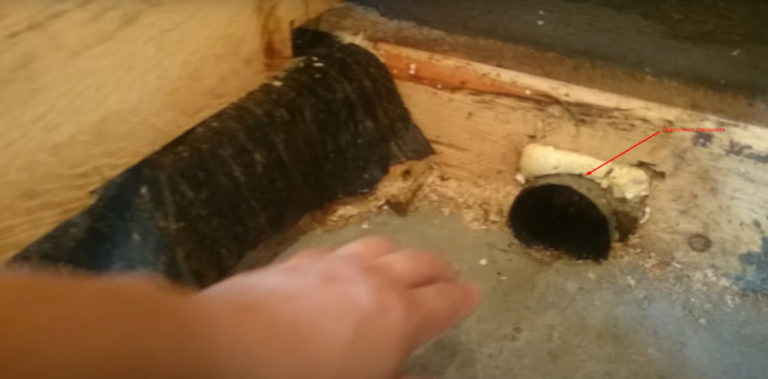
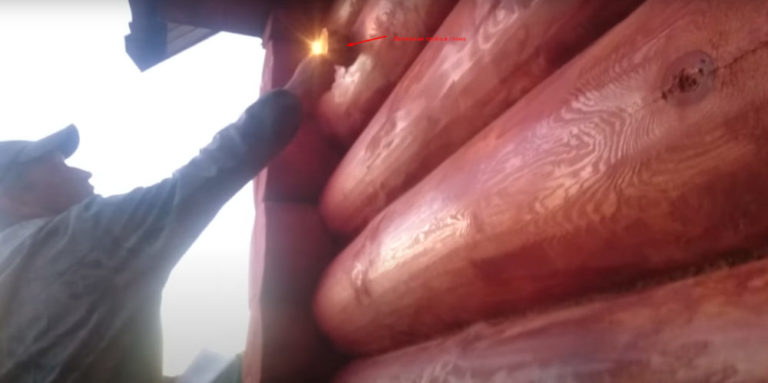
- Install lower vents in the foundation to provide air flow under the stove and the steam room's subfloor. The optimal number for a 2x2 m steam room is three. Make the sleeve protruding slightly beyond the concrete foundation. Test the air flow in the finished ventilation system with a lighter or burning newspaper. The flame should be drawn into the sleeve.
- Install the first air inlet near the stove to supply air through the concrete screed under the steam room floor. Install a damper to regulate the air flow.

- Connect the second inlet with a sleeve under the stove. It will operate when the damper of the first inlet is closed.
- Make the third inflow using a sleeve to supply air through the concrete screed on the other side of the stove.
- Near the stove-heater, cut a hole in the wooden flooring where the first inflow damper is located.
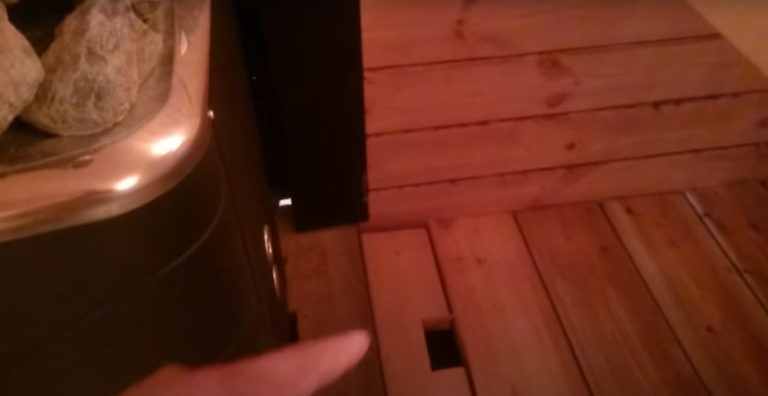
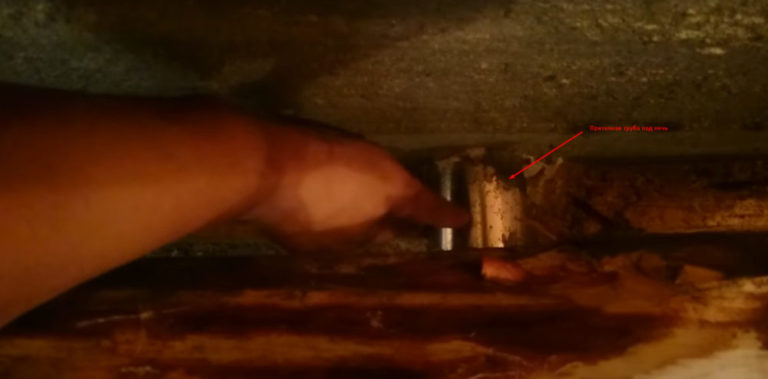
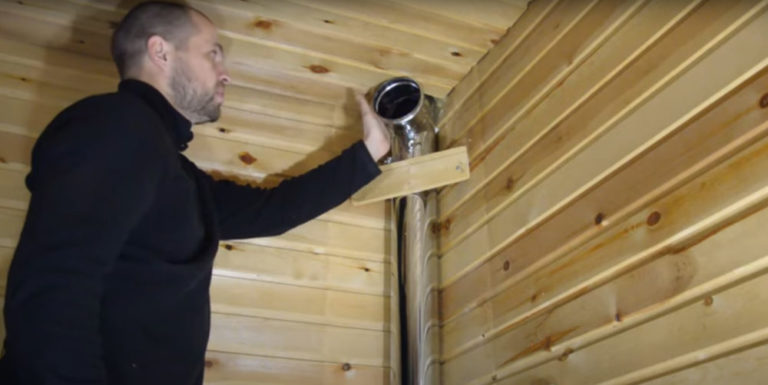
- For underfloor hood installation, install a stainless steel pipe with a diameter of approximately 100-110 mm.
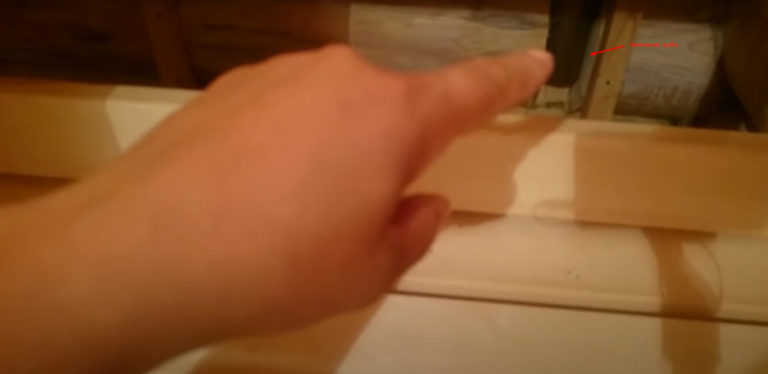
- Install a tee with a damper at the top of the exhaust pipe. Close one end of the tee, the one facing the sauna, with a plug. Open it to ventilate the room. Route the other end of the tee through the wall to the outside.
- On the street side, extend the exhaust pipe slightly beyond the wall to prevent condensation from damaging the façade and instead allow it to drain to the ground. Test the exhaust hood's operation with a flame similar to the inlet test. Flames should be deflected away from the opening by the outgoing air currents, rather than being sucked in.
While the sauna is in use, regulate air circulation using the dampers. Periodically clean the vents of dirt and cobwebs.
Video instructions
The second method of arranging vents in the steam room is with sleeves through the foundation and the pipe outlet on the roof
If you don't want to vent the exhaust through the wall under the ceiling, let's look at how to properly install ventilation with a sandwich pipe outlet on the bathhouse roof. Install vents in the foundation with an inlet under the stove/heater as in the first method.
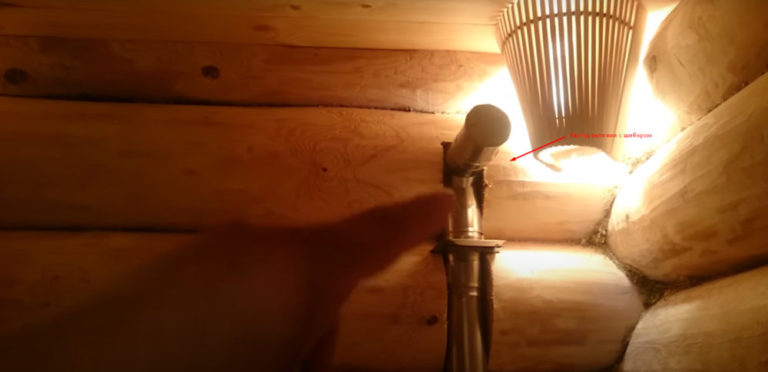
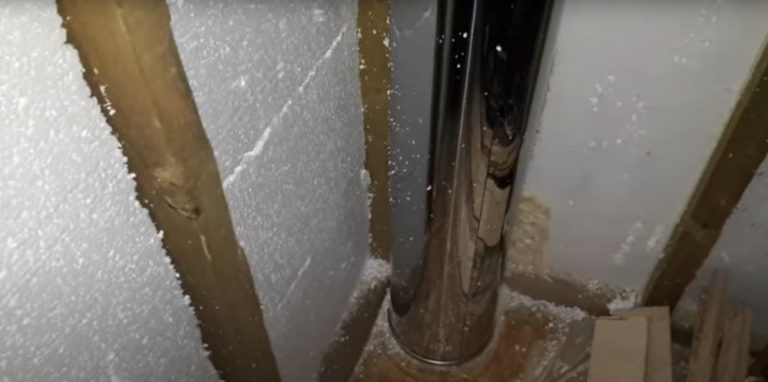
To exhaust air from under the floor in the steam room, install a stainless steel pipe with a damper. Let's look at the next step:
- Install a tee on the pipe under the steam room ceiling. Close the side opening with a plug. You will use it for ventilation in the future.
- Connect a sandwich pipe to the second straight outlet of the tee. Route the insulated exhaust element through the ceiling to the attic or loft, depending on the sauna's design. Using a sandwich pipe will prevent condensation from forming where it passes through the cold zone.
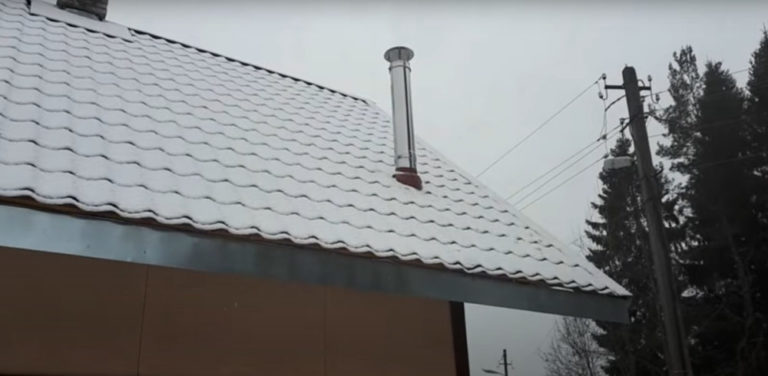
- Extend the sandwich pipe from the attic or loft to the roof. To prevent roof leaks, seal the joint using a shaped penetration piece. Install a mushroom cap on the top of the sandwich pipe to seal the exhaust vent from precipitation.
Test the exhaust ventilation with a lighter, holding a flame to the vents. Use the dampers to regulate air circulation.
Video instructions
Installation of combined ventilation in the dressing room
The bathhouse's anteroom is located adjacent to the steam room. During wellness treatments, steam enters the room through the door, condensing on all structural elements. The moisture dampens bathers' belongings and furniture.
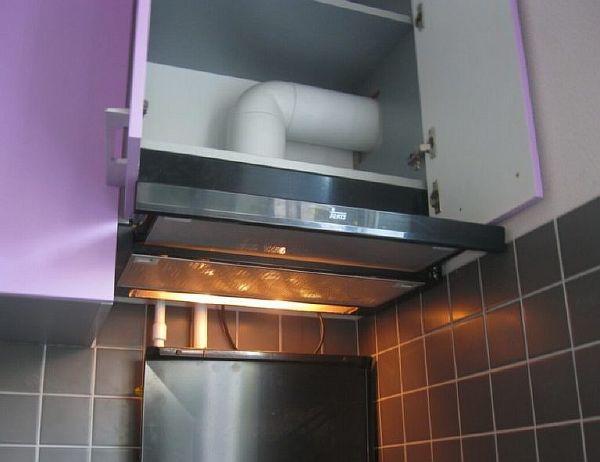
It's impossible to rest or change clothes in the dressing room. To improve air exchange and remove steam, install a simple combination ventilation system with vents in the wall and an exhaust fan:
- Mark a hole for the exhaust fan at the top of the wall. Use a hammer drill to punch a hole through the mark.
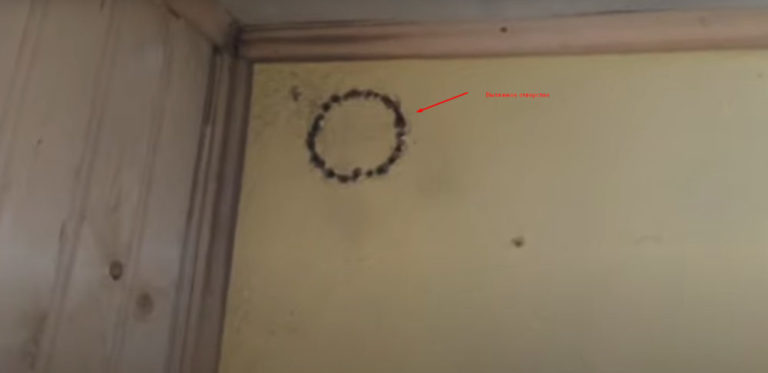
- Perform a similar procedure on the lower section of the wall. Prepare the supply vent.
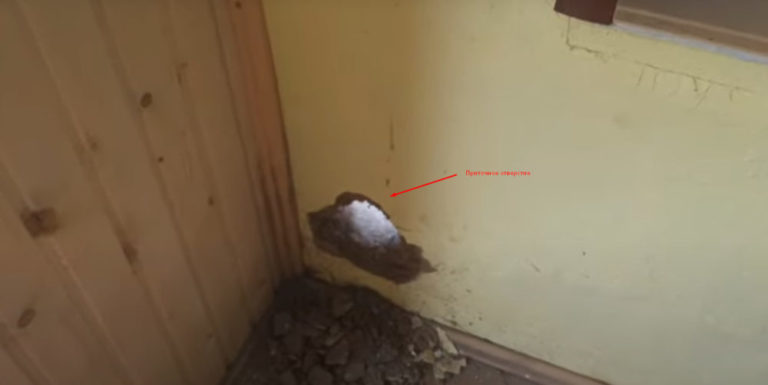
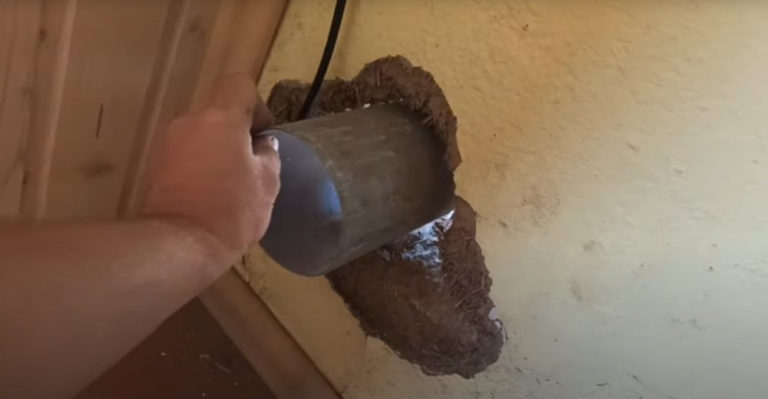
- Insert a metal sleeve made from a section of pipe into the vent at the bottom of the wall. The diameter of the element is 100 mm.
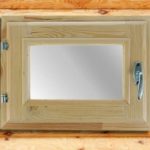
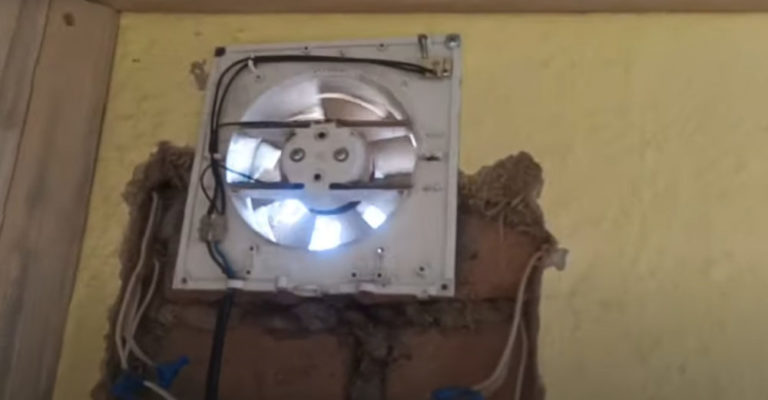
- Install and secure the exhaust fan into the hole in the upper wall. Connect the wiring and test the equipment for proper operation.
- Repair the damaged wall finish around the vents. Cover the fan and lower air inlet from the inside of the dressing room with decorative grilles. Cover the outdoor air inlet with a grille as well. Install the included cap, equipped with a valve, on the fan.
After completing the installation, turn on the fan and check again that the ventilation is working properly.
Video instructions
If the technical capabilities of the bathhouse do not allow for vents to be installed in opposite directions, arrange them diagonally on one wall.
Steam spreads throughout the entire sauna. Moisture must be removed from the shower, attic, and other rooms in the sauna building. If the design includes a basement, ventilation is individually designed for it, usually a combination or forced-draft system with ductwork.
You can easily verify air circulation by holding a lighter or match flame to the vents. The flames will move in the direction of the moving air flow. You can determine the effectiveness of air exchange by external signs: the absence of mold and consistent steam removal from the dressing room.
No sauna is complete without ventilation. A stuffy, mold-filled room is impossible to enjoy.


