Owners of private homes and apartments often ask me whether kitchen ventilation is necessary, what type they need, and how to set up the system. Kitchen ventilation is essential for removing stale air and bringing in clean air.
In the kitchen, you can install a supply, exhaust, and supply-and-exhaust engineering system, where air flows move naturally or forcedly.
How to properly ventilate is a question that requires in-depth consideration of the steps involved. In the kitchen, you can install hood, supply wall or window valve, breather, recuperator. Selection and installation of equipment is carried out in accordance with SNiP standards.
- Kitchen ventilation standards
- Types of ventilation
- Methods of ventilation arrangement
- What is suitable for the influx?
- What is suitable for the hood?
- What is suitable for a supply and exhaust system?
- What type of ventilation should I choose for a kitchen with a gas or electric stove?
- How to ventilate your kitchen properly
- Installing a recuperator for the kitchen
- Installation video
- Answers to frequently asked questions
Kitchen ventilation standards
A lack of oxygen indoors can negatively impact a person's well-being. Rapid fatigue, drowsiness, and impaired concentration are observed. Carbon dioxide levels exceeding the oxygen level by 6-7 times cause suffocation.
Additionally, the air in the kitchen is polluted by the smells of cooking food and combustion products from the gas stove. According to the requirements GOST 30494-2011, for a person to remain in the room normally, the level of carbon dioxide should be 400-600 ppm.
SNiP 41-01-2003And SP 60.13330.2010 These are regulatory documents that govern the volumes of regular air exchange in residential premises. The standard for removing stale air from a kitchen:
- with electric stove – 60 m3/hour;
- with a gas stove - 90 m3/hour.
The minimum air exchange rate is 12. To help you understand the standards, I'll give a more detailed explanation using the example of a kitchen with a gas stove. In one hour, the air in the room should be exchanged 12 times at a rate of 90 m3.3 in each cycle.
Using the standard indicator as a basis, you can calculate the required performance of the kitchen ventilation system in a private house or apartment.
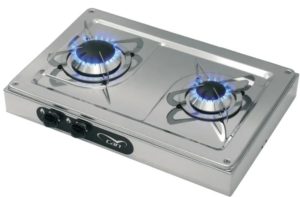
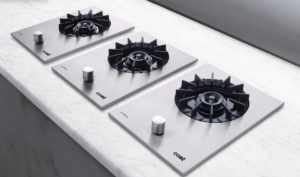
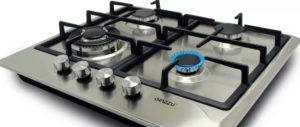
According to regulatory documents, the number of gas stove burners must correspond to the kitchen volume:
In addition to auxiliary ventilation elements, building codes require the kitchen to have a separate natural exhaust duct.
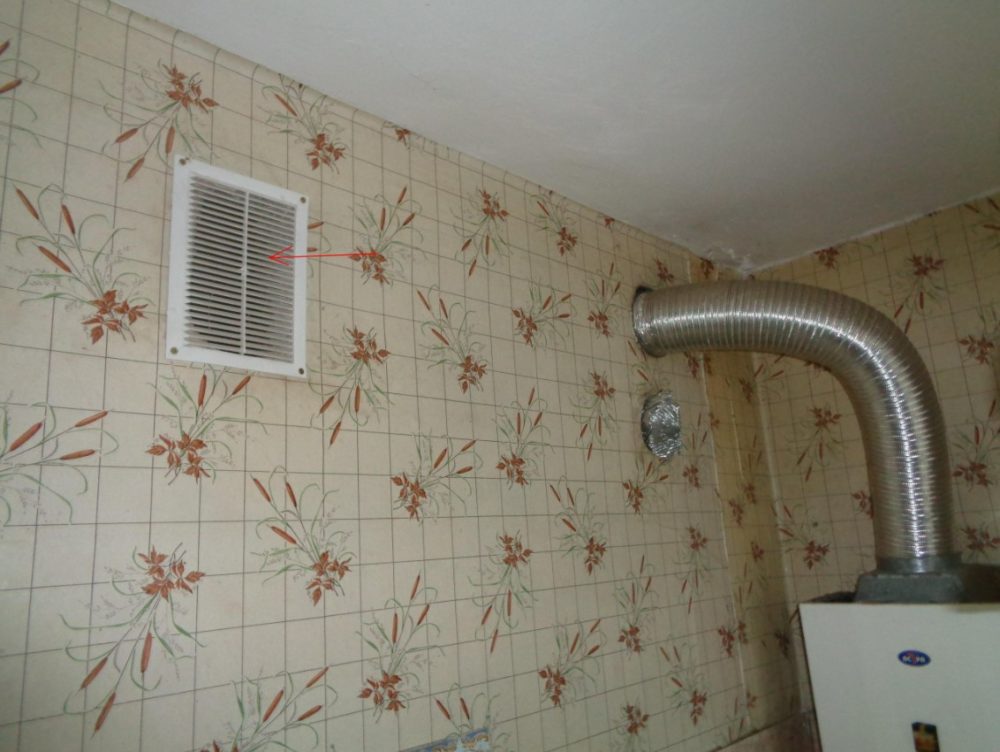
The free exhaust duct of the common building system is located on the wall under the ceiling, separate from the connected ventilation units. If there are legal grounds for connecting a domestic range hood to the vent, install it through a combination grille.
The unit contains a duct connection and a free grille section. If the range hood fails, dirty air continues to be exhausted naturally through the common ductwork and the grille.

Types of ventilation
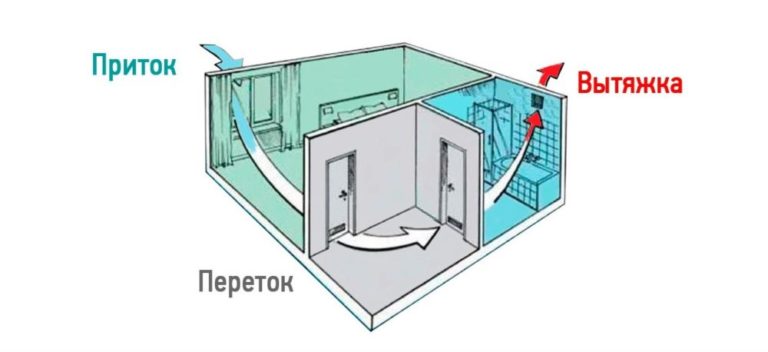
Based on their operating principle, ventilation can be classified as supply, exhaust, or combined. A complete ventilation process is possible when air is supplied through the supply and exhausted through the exhaust hood. This system is called a supply and exhaust system, or a combined system.
Natural ventilation is the most common option for small private homes and apartments. Air exchange occurs due to the difference in temperature and pressure between the outside and inside the building.
Pros and cons:
- easy to install and inexpensive system;
- no power consumption;
- inexpensive maintenance;
- Quiet operation due to the absence of fans.
- air exchange standards do not comply with SNiP, therefore, the engineering system has not been used in modern construction since 2004;
- the intensity of air exchange depends on natural factors;
- Due to limitations in the length of air ducts, it is not always possible to arrange natural ventilation for the entire house.

Mechanical ventilation works by forcibly moving air flows using operating fans.
Advantages and disadvantages of the system:
- stable air exchange does not depend on natural factors and complies with SNiP requirements;
- the user can regulate the intensity of air exchange;
- The presence of additional equipment allows you to purify the air entering the kitchen, change the humidity and temperature, and automatically control the modes.
- energy consumption of equipment;
- operating fans create noise;
- The system is more expensive for the user to install and maintain.
In a mixed system, the fan is located on the exhaust or supply duct. This option is common for small kitchens in older homes.
Methods of ventilation arrangement
You can create a supply and exhaust ventilation system for your kitchen by installing at least two units. One unit will supply air, and the other will exhaust air.
What is suitable for the influx?
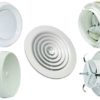
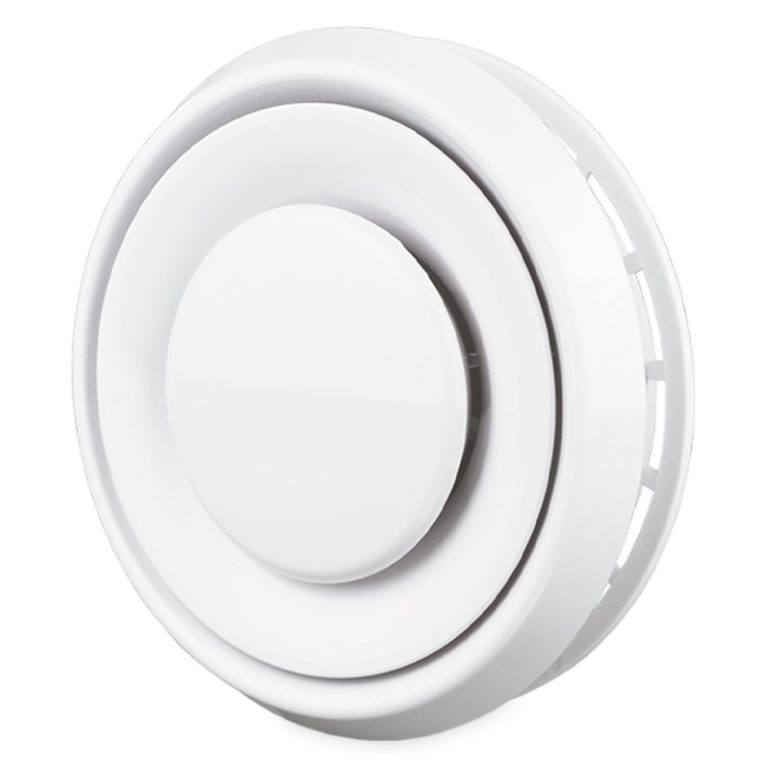
A simple way to create an air supply in the kitchen is to install a diffuser on a wall vent. The unit looks like a standard ventilation grille, but its design is different.
Depending on the model, the diffuser is equipped with a static pressure chamber, partitions, an impeller, and blades for better distribution of incoming air flows.
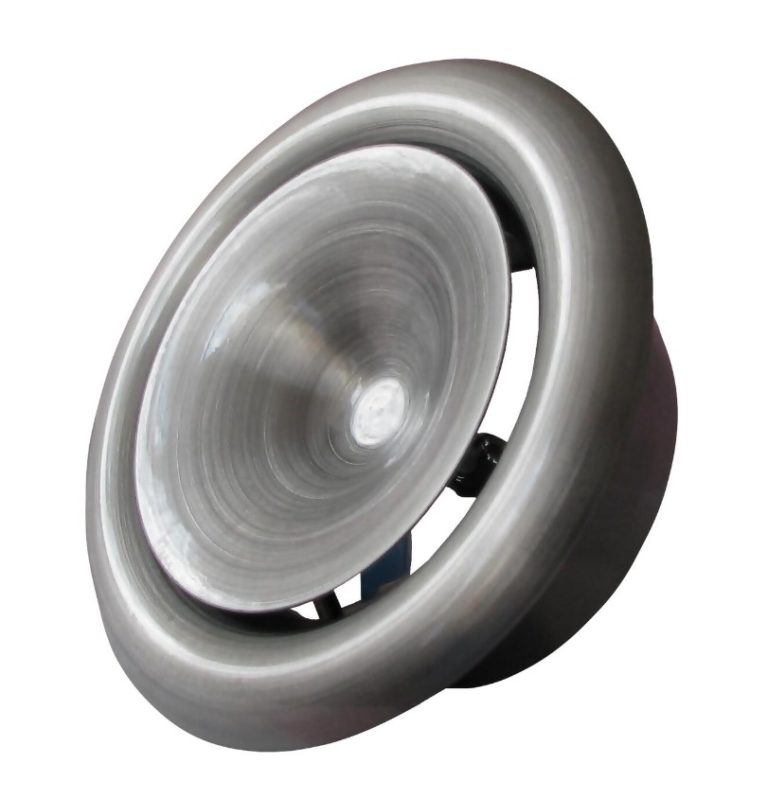
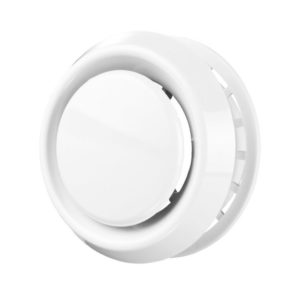
Instead of a diffuser, you can install an anemostat. The unit is equipped with a mechanism for adjusting and completely shutting off the air flow. The supply anemostat has a plate with an inward curve.
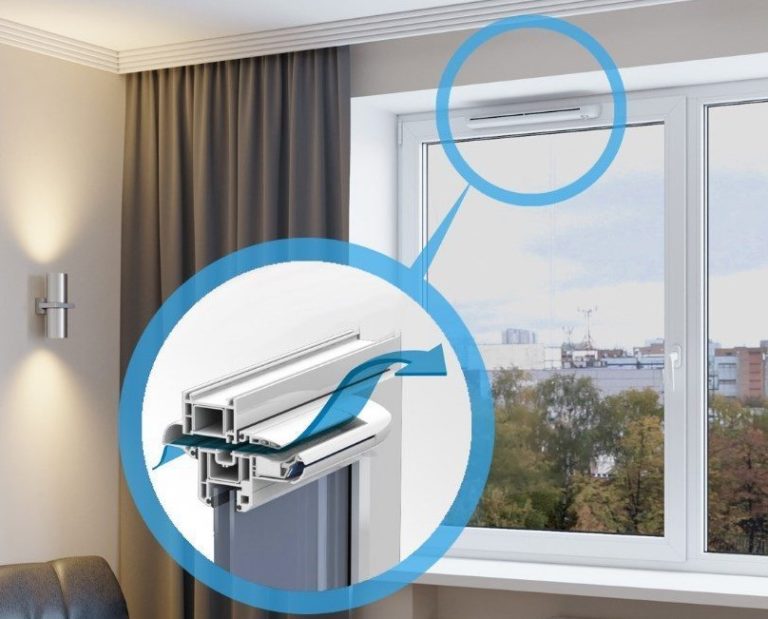
An inexpensive way to improve airflow is to install a window vent in the kitchen. A window vent is equipped with a manual or automatic mechanism to regulate air flow.
Depending on the installation type, ventilators are produced in two types: for fixing to the upper part of the opening sash and for mounting to a fixed window by milling the frame.
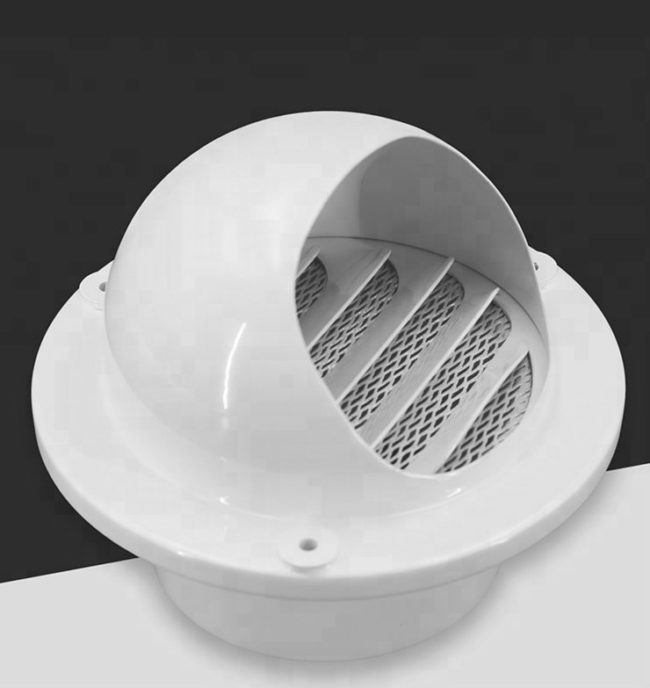
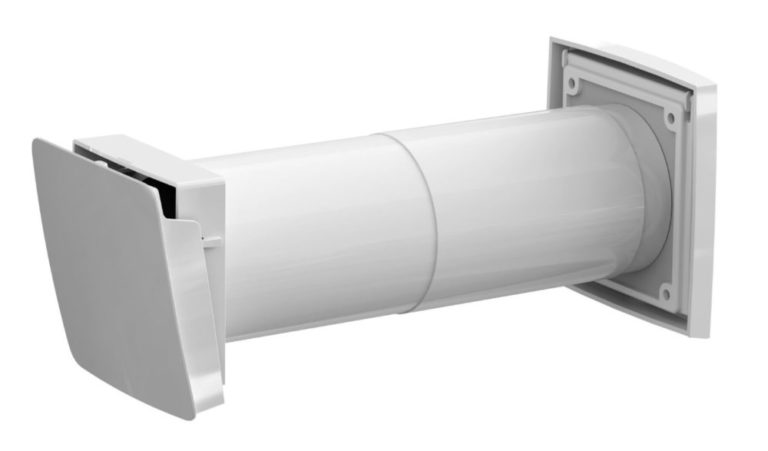
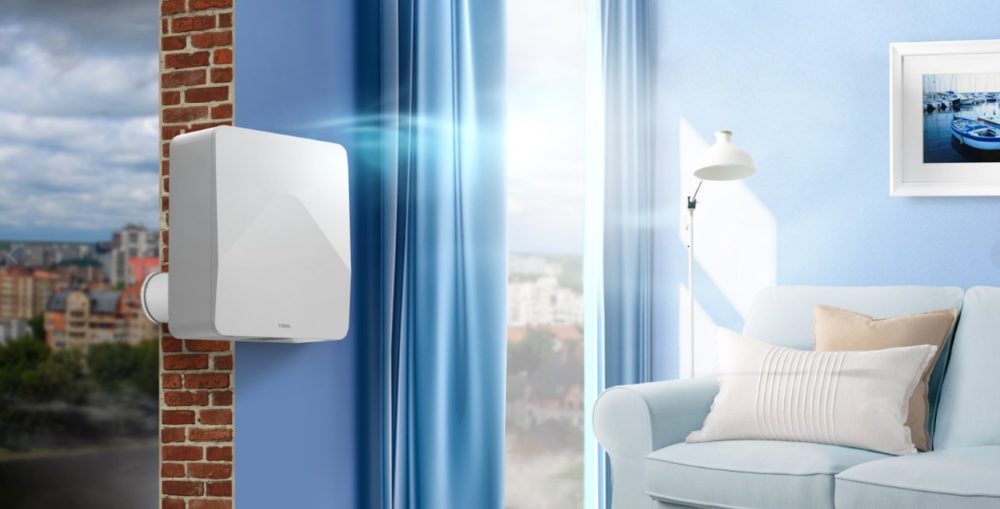
To ensure filtered air enters the kitchen, install a wall-mounted supply air valve. The unit is equipped with a manual air flow control mechanism.
When closed, the valve prevents air from passing through, which is convenient for conserving heat when the kitchen is not being cooked in winter. More expensive models are equipped with a thermostat and a heater to warm the incoming air.
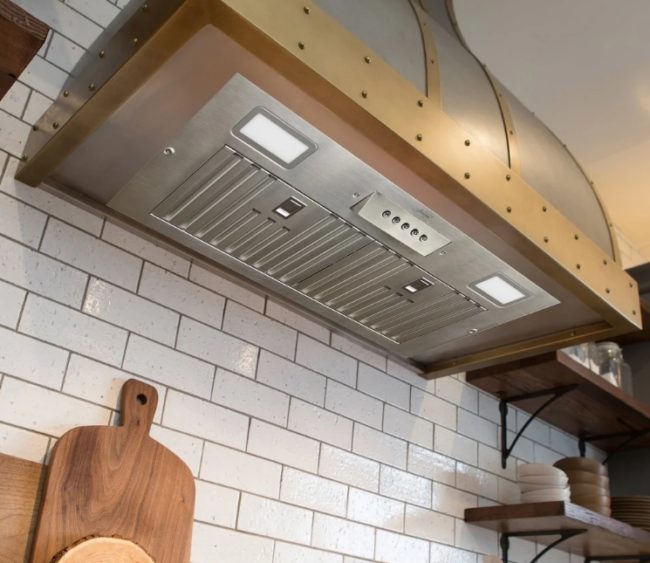
What is suitable for the hood?
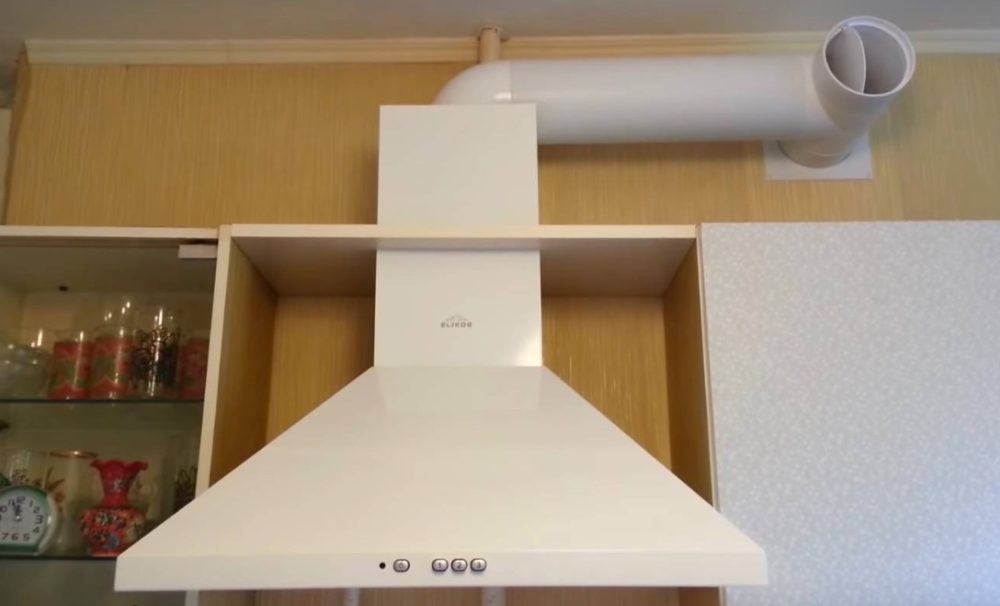
Range hoods are a common kitchen ventilation solution. Designed for installation above the cooktop, these units vary in design and exhaust method.
Classification by air removal method:
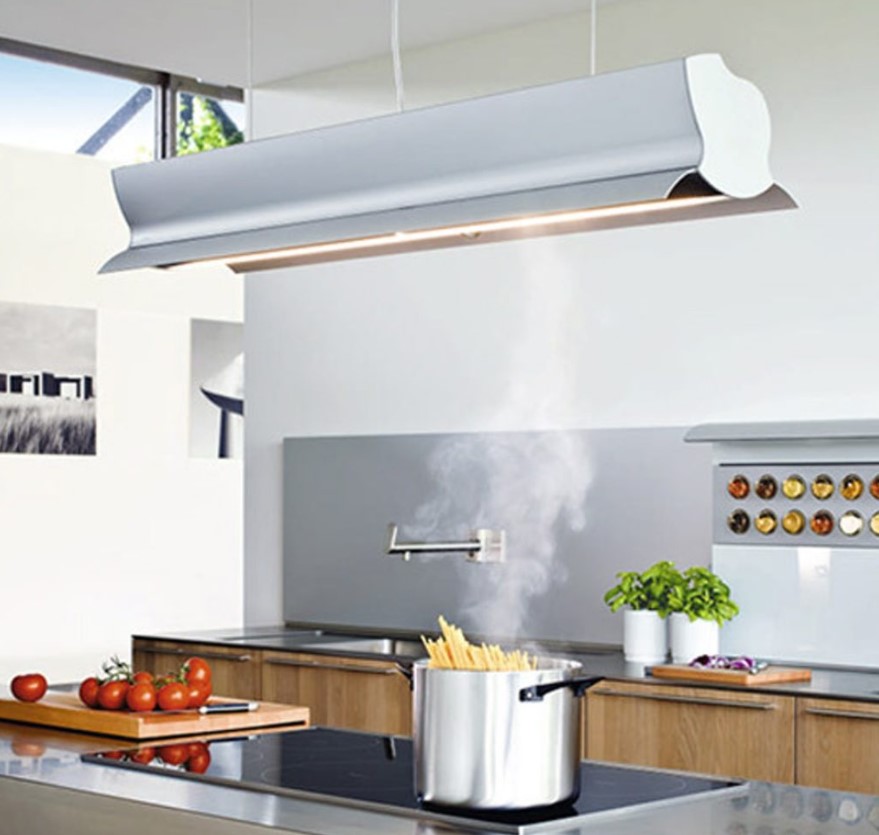
- Depending on the shape, hoods are produced as dome-shaped, canopy-shaped, and telescopic.
- By installation location – built-in, wall-mounted, suspended, island.
- Umbrellas can be angular or rectangular.
- By type of placement above the hob – vertical, inclined, horizontal.
What is suitable for a supply and exhaust system?
A simple way to set up supply and exhaust ventilation is to install a combination air diffuser in the kitchen. This device operates both for supply and exhaust. A supply and exhaust air diffuser has two disc valves, one facing outward and the other inward.
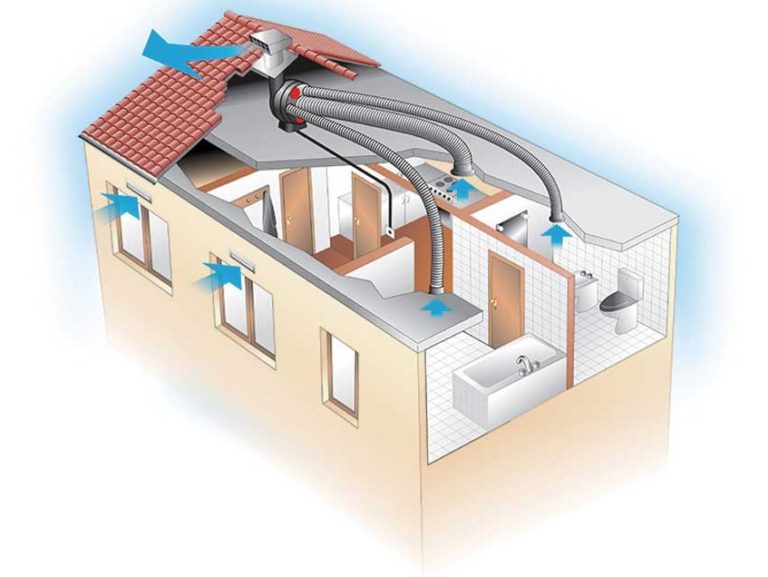
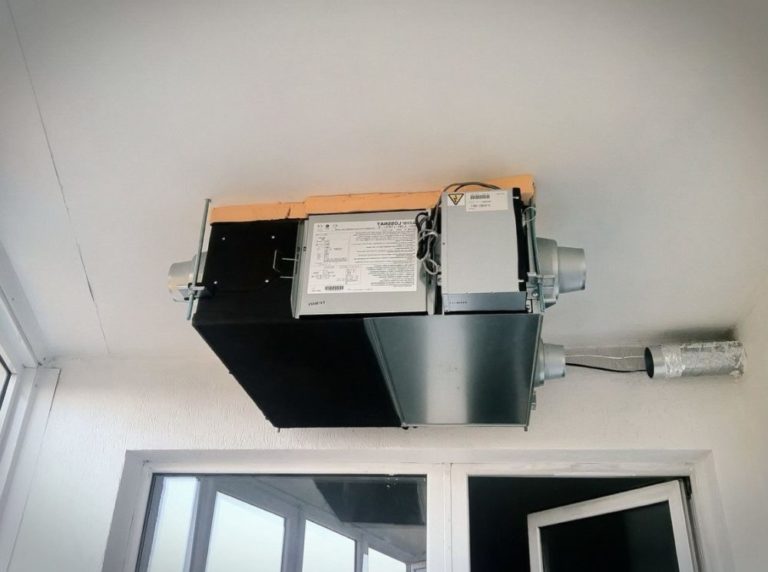
An effective supply and exhaust ventilation system is to install a heat recovery unit. This unit handles both supply and exhaust air flows. It is equipped with a fan, filter, and control sensors.
Recirculating air flows reduces heat loss in the home. You can install a recuperator individually for the kitchen on the wall, floor, or ceiling. A more powerful model can be installed for the entire house in a separate room or in the attic.

What type of ventilation should I choose for a kitchen with a gas or electric stove?
In a kitchen with a gas stove, I recommend installing a forced-air supply and exhaust system with a vent into the ventilation system.
The room is heavily contaminated with greasy fumes from cooking food and natural gas combustion products. Leaks are possible from an extinguished burner or a leaky faucet.
Electric stoves are less hazardous than gas appliances. You can install a forced-air hood with recirculation above the cooktop without exhausting it into the ventilation system. The carbon filter will need to be replaced less frequently than with a gas stove.
How to ventilate your kitchen properly
Ventilation works properly when there is both an intake and exhaust. It's impossible to organize air exchange with just one air supply or exhaust.
Even a kitchen hood operating on the recirculation principle without ventilation is ineffective due to the lack of fresh air intake. The only proper system is a supply and exhaust system. There are several options for how to create one:
- Intake ventilation. In a house or apartment with old wooden windows, air from outside enters through cracks. Heat loss increases, but the property owner saves money by installing an intake ventilation unit.
Another beneficial option is to create a gap at the bottom of the kitchen door to allow air to flow in from other rooms with an air vent.
If you have new windows with sealed glass units and it's impossible to direct airflow from other rooms, you'll need to install a supply air device. Options include installing a supply air valve or breezer through the wall, or installing a ventilator on the window frame.
- Exhaust hood. Apartments and modern private homes are typically designed with a common-building exhaust duct. Additionally, a range hood can be installed above the stovetop to remove stale air from the kitchen.
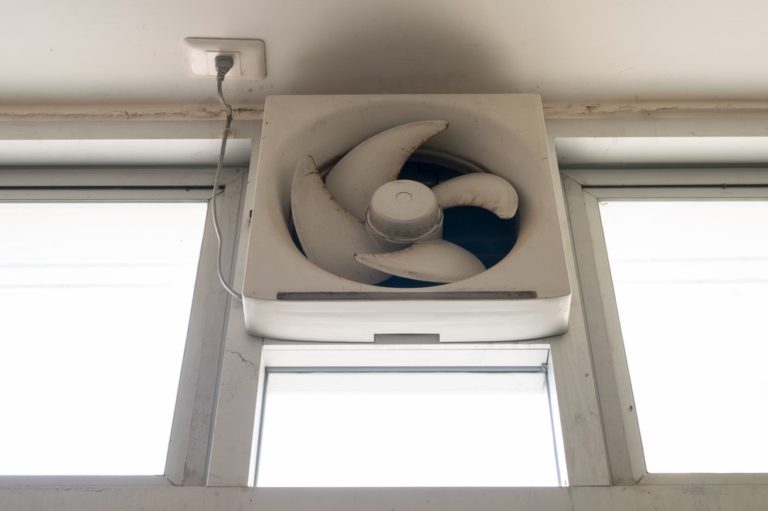
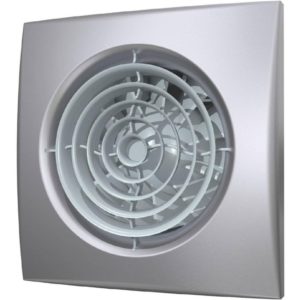
In older private homes, there is no common exhaust duct. To remove stale air, an exhaust fan must be installed through a hole in the wall or on a window vent. An exhaust hood with an outlet to the outside can also be installed.
Above the channel passing through the wall or on the side of the wall, be sure to leave a free through hole for natural ventilation.
To set up supply and exhaust ventilation in a modern kitchen, consider installing a recuperator. The disadvantage of the device is its high cost and difficulty of installation..
The advantages of the ventilation system outweigh the disadvantages. The kitchen space will be supplied with clean air. The multifunctional recuperator will heat the incoming air in winter and cool it in summer. A comfortable microclimate is maintained in the kitchen 24/7.
Installing a recuperator for the kitchen
Installation of supply and exhaust units follows the same principle. To install the equipment, drill a through hole in the wall or window frame and secure the unit housing with a duct leading outside. There's no need to discuss the step-by-step installation of a breezer, valve, or window vent.
The installation of an exhaust hood varies depending on its design, but everything is described in the manufacturer's instructions. In short, you need to secure the unit's body and plug it into a power outlet.
The ducted exhaust must be routed through the wall to the street using air ducts or connected to the general building ventilation system.
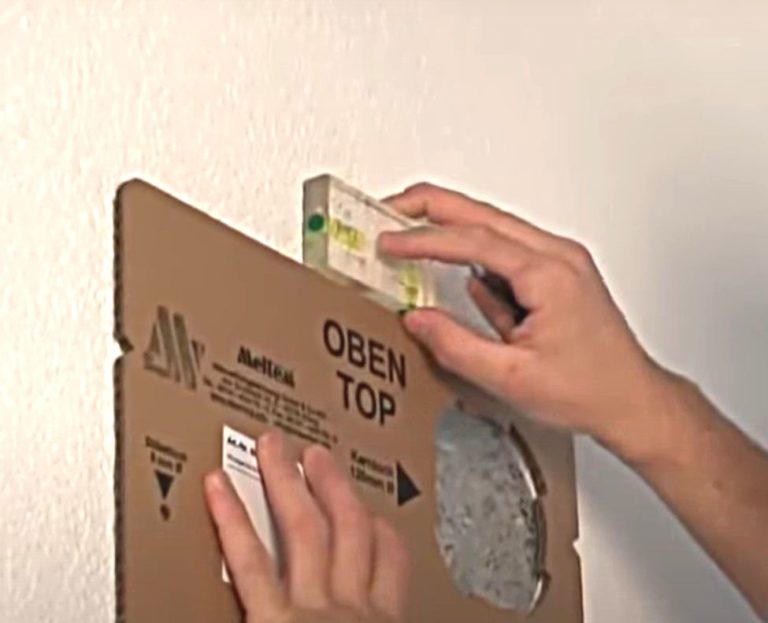
The installation of a recuperator is more complicated, so we will consider this issue in detail using the example of a wall-mounted plate device. Meltem M-WRG-S/ZTF German production:
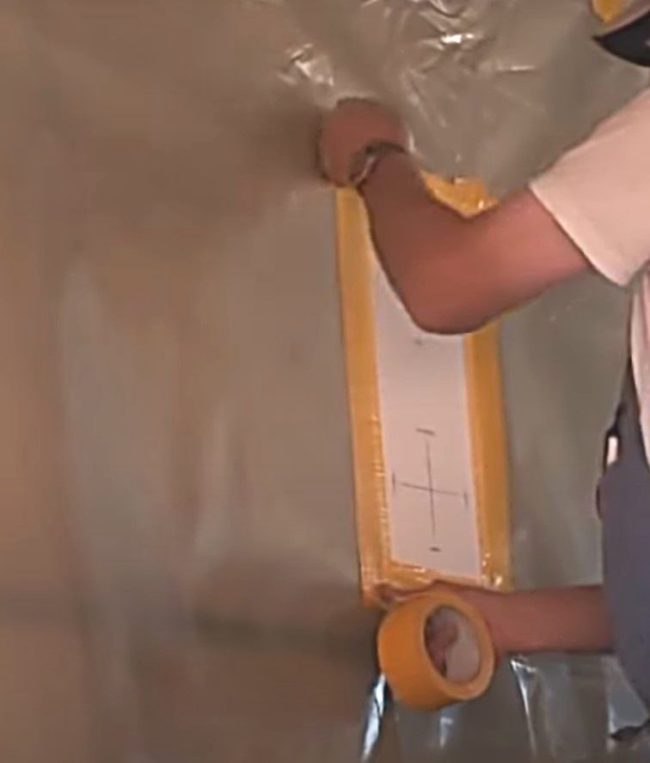
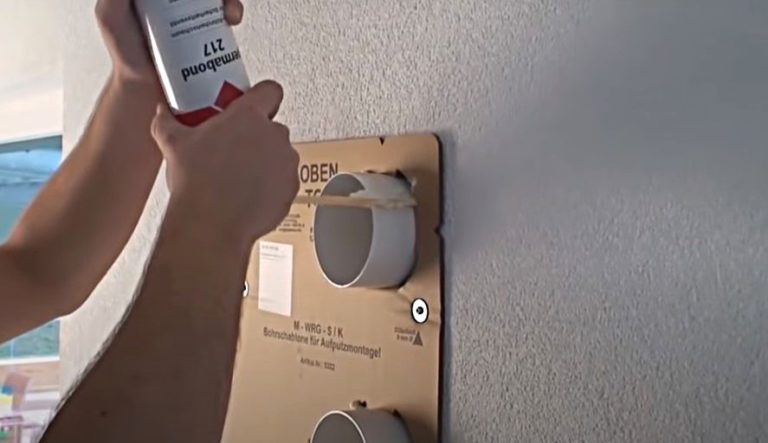
- The wall-mounted heat exchanger is supplied with a mounting template. Place the element against the wall where the housing is to be mounted.

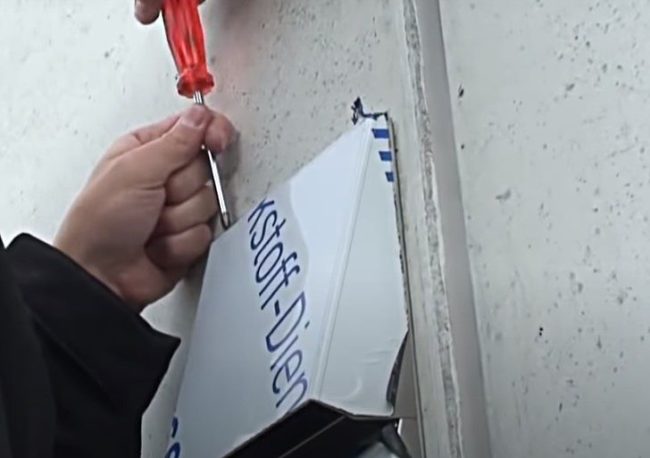
- Prepare the wall area for drilling. Secure a piece of film with masking tape. Cut a window at the drilling site to allow access to the markings.
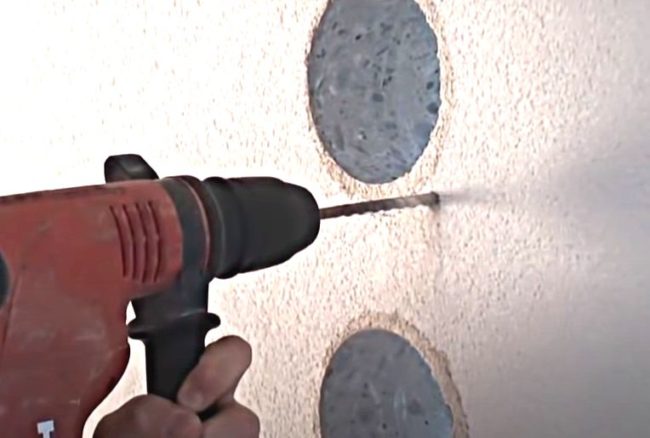
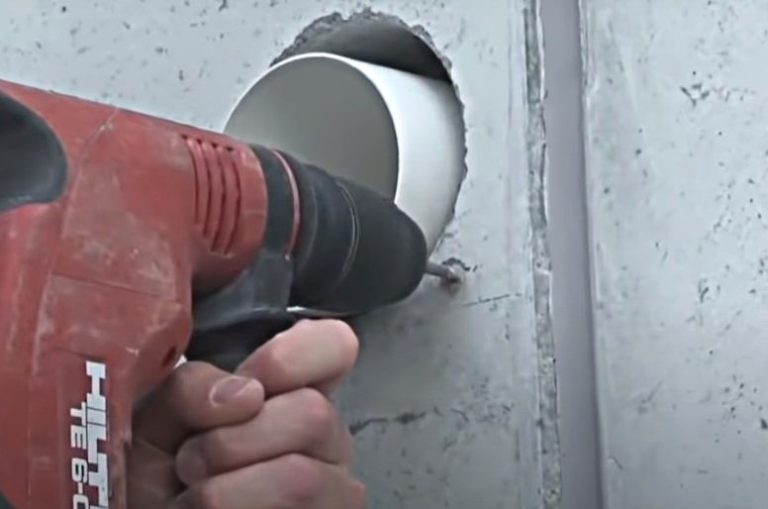
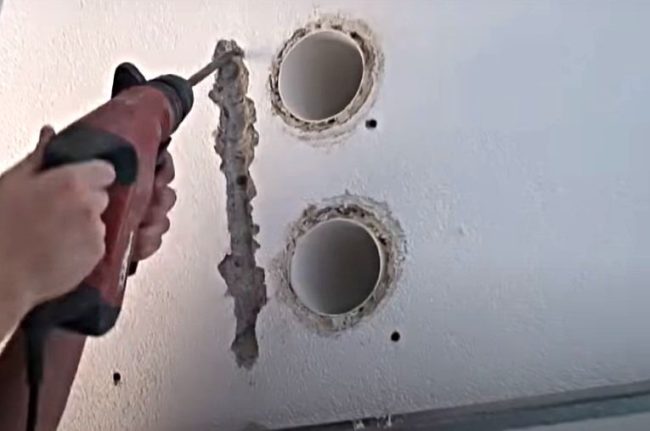
- Attach the diamond core drill to the wall. Align the cutting bit with the markings.
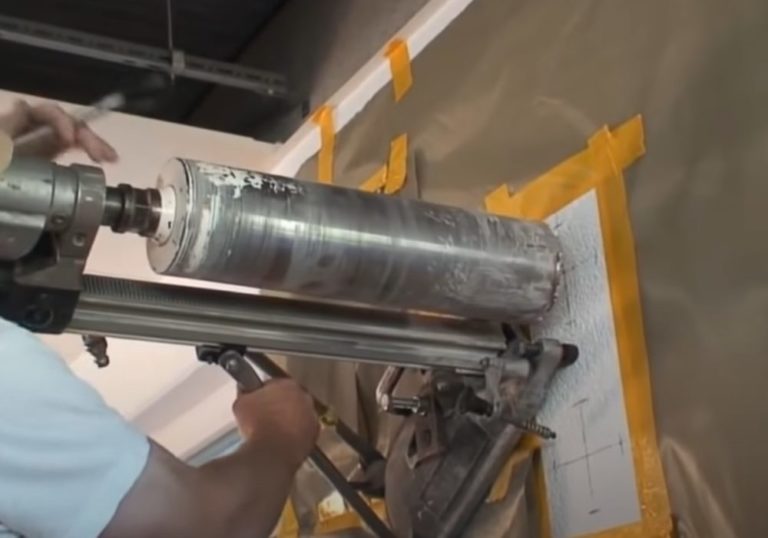
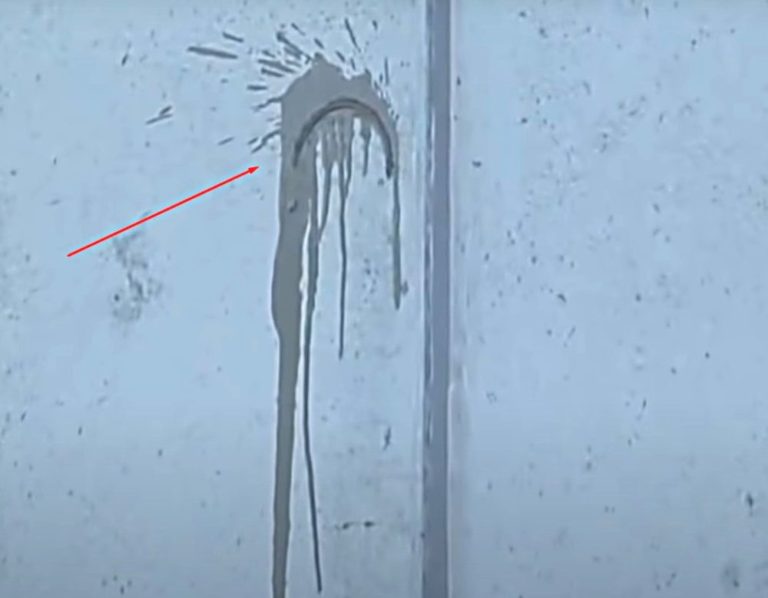
- Begin drilling along the markings. When diamond drilling concrete, water should be supplied from the drill rig to the drilling point to cool the cutting bit. Be prepared for some water to leak through the cut concrete onto the outside of the wall, creating dirty streaks.
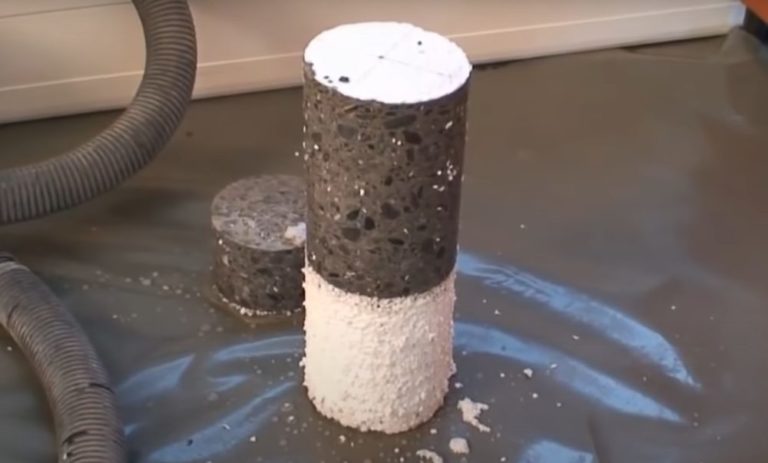
- After drilling each hole, remove the concrete fragment cut from the wall from the drill bit.
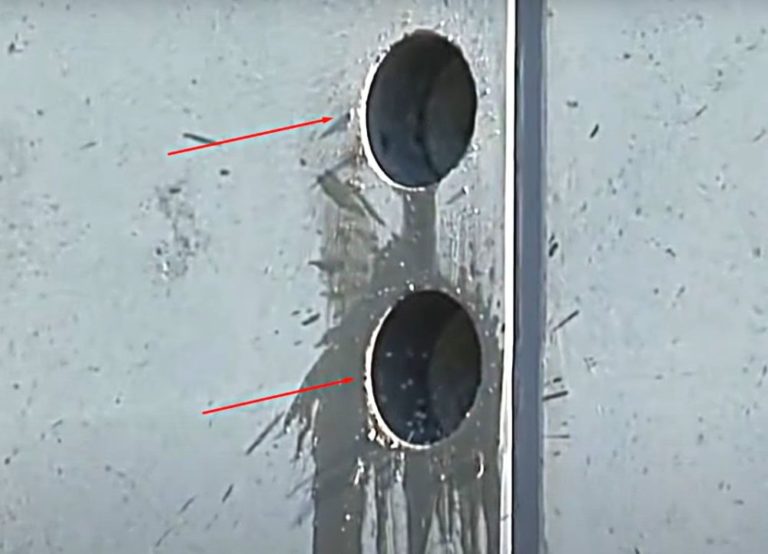
- There should be two holes on the wall, located vertically opposite each other.
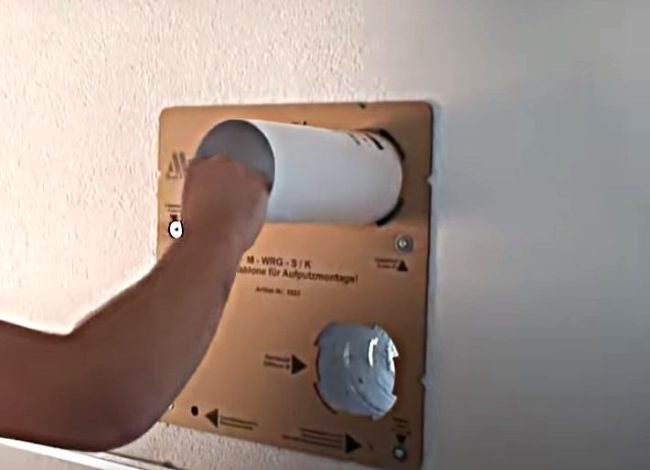
- Place the template over the cut holes from the room side. Align it with a level. Mark small holes on the wall to secure the heat exchanger housing with hardware and plastic anchors.
- Drill the mounting holes with a hammer drill. Use diamond-tipped or carbide-tipped drill bits. Insert a plastic anchor into each hole.
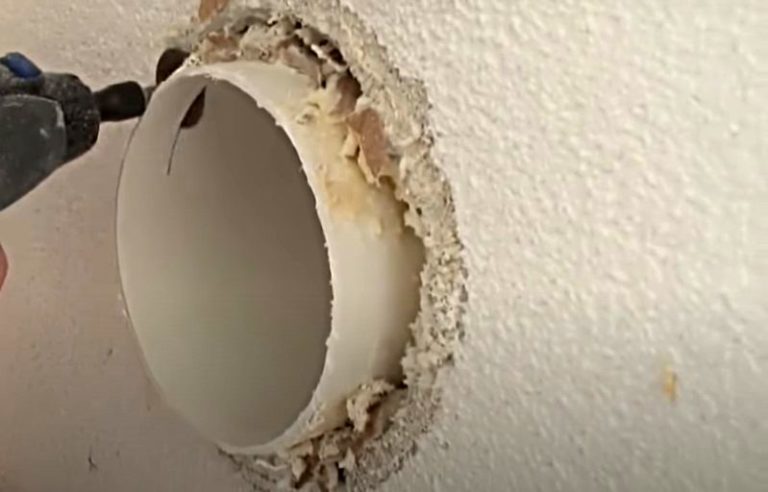
- Temporarily secure the template with screws. Check the alignment of all holes and the correct level. Insert the bushings into the drilled holes for the air ducts. In this model of heat exchanger, the air ducts are made of plastic pipe. Part of the bushing should extend beyond the wall plane on the street side.
- Place the canopy template against the street-facing wall with the two protruding sleeves. Align the element using a level. Use a pencil to mark the mounting holes on the wall for the screws and dowels.
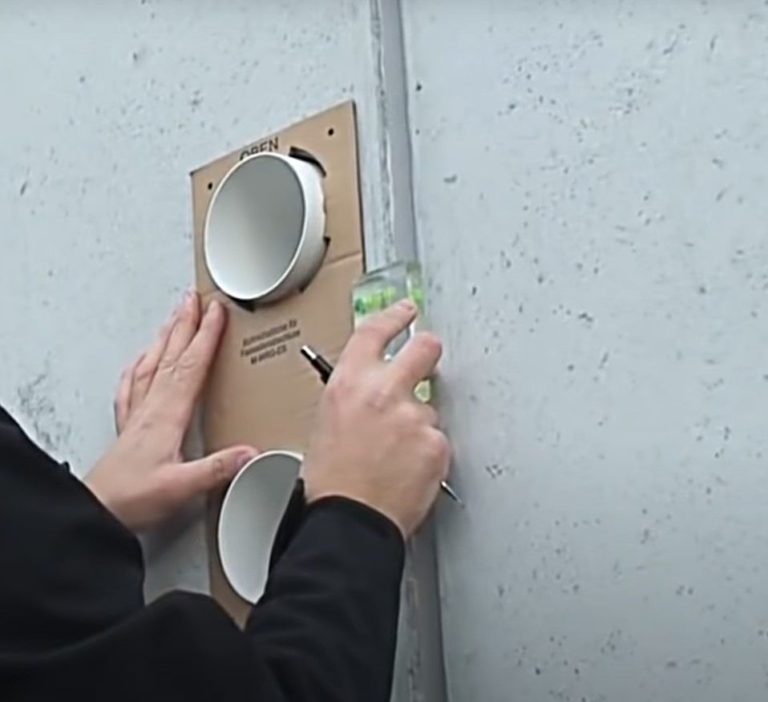
- Remove the template from the wall. Drill mounting holes according to the markings and insert plastic anchors.
- Align the visor mounting plate with the holes and securely fasten it with screws.

- Install the canopy onto the mounting plate secured to the exterior wall. The top of the piece is covered with protective transport film. After the canopy is secured, remove the film covering from the body.
- From the room side, use foam to fill the gaps formed between the outer walls of the air duct sleeves and the concrete surface of the wall.
- Remove the installation template. Trim the protruding edge of the sleeves to match the wall plane.
- Use a chaser or a hammer drill to make grooves in the wall for laying the wire to supply electricity to the recuperator.
- Secure the recuperator unit to the wall with screws. Make sure the supply and exhaust ducts of the unit fit into the sleeves.
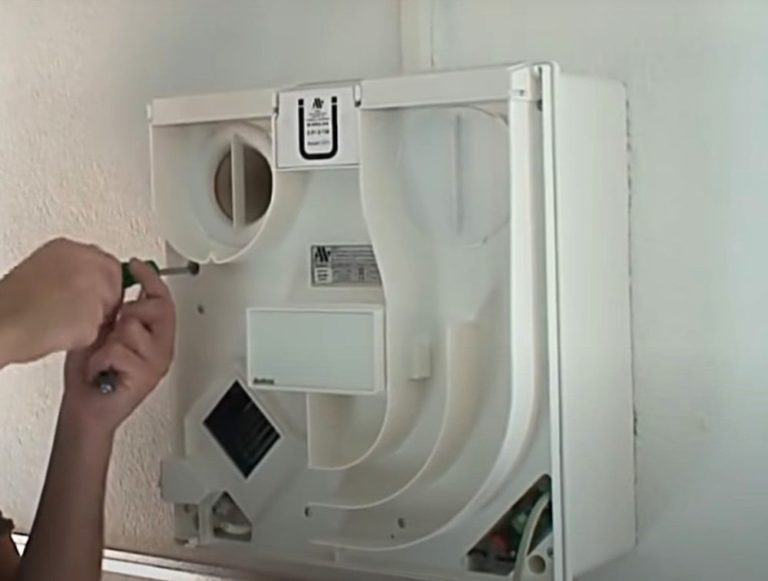
- Connect the wiring to the heat recovery unit. Connect the wire using terminal blocks. Check the power supply and the operation of the heat recovery unit. Lay the wire in the grooves, conceal it with plaster, or use cable ducts for wiring.

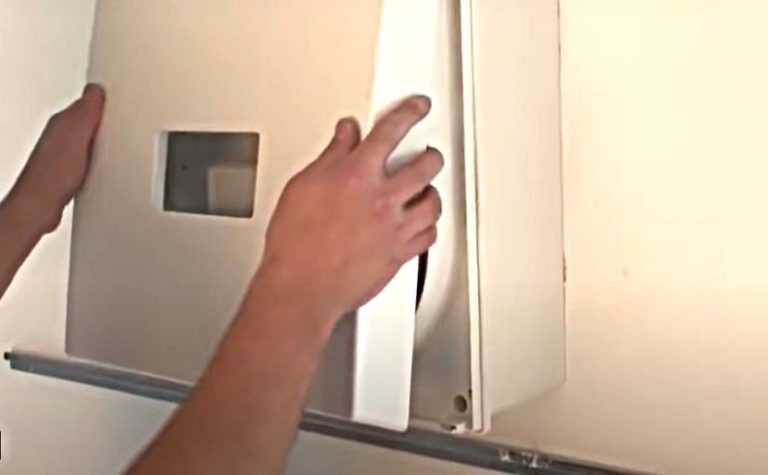
- Install the decorative cover on the recuperator unit, covering the working components of the ventilation equipment. Check the operation of the unit and the mode switching again.
A wall-mounted heat recovery unit is a convenient option for creating a combined supply and exhaust ventilation system in the kitchen. If you're planning to install a complete system for the entire house, you'll need equipment with increased capacity.
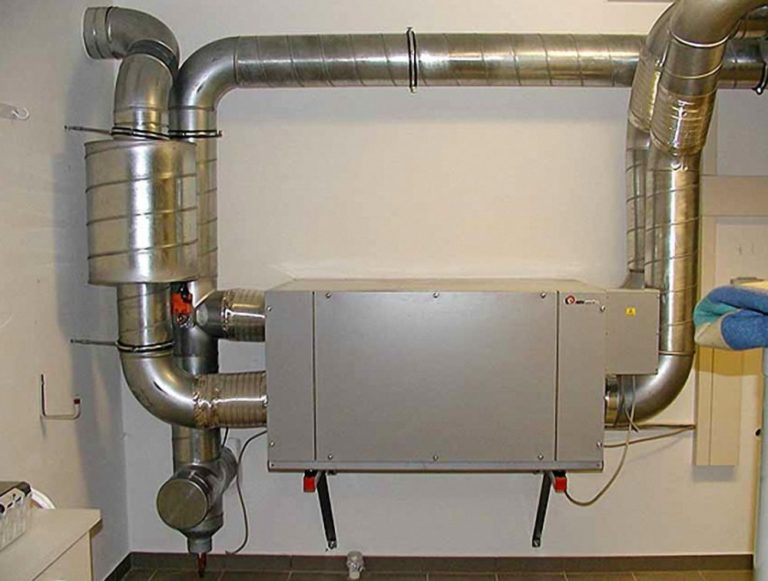
Powerful recuperators are available in floor-standing and ceiling-mounted versions. The principle of air ducting through the wall is similar to the wall-mounted model. The duct connection method differs.
Air ducts made of aluminum corrugated pipes, plastic, or metal tubing are connected to the wall sleeves from the recuperator's supply and exhaust ducts. A muffler is installed after the unit to absorb fan noise.
Installation video
Answers to frequently asked questions
If a range hood is installed, natural ventilation is needed for emergency removal of gas leaks and dirty air when the appliance breaks down, is turned off, or is unable to operate due to insufficient power.
A range hood without a vent works on the principle of air recirculation. The contaminated air passes through a filter and, after cleaning, returns to the kitchen.
SNiP 41-01-2003 and SP 60.13330.2010 do not apply to household exhaust hoods, but apply to the period of building construction until commissioning. The rules and regulations for the operation of housing stock are reflected in Resolution No. 170 of September 27, 2003, as amended on June 22, 2022. Clause 5.7.8 states that it is prohibited to seal or cover the ventilation duct with foreign objects. In upper-floor apartments, an exhaust fan may be installed instead of a grille. In new buildings, connecting the exhaust duct to a combined grille is permitted. It is best to verify the legality of your actions with the organization servicing the apartment building.
Without a range hood, soot from cooking food will settle on the kitchen ceiling, but it's possible to do without one. The owner will have to clean the room more often. If by range hood you mean an exhaust vent through a wall or on a common duct, then it's essential. Exhaust ventilation in the kitchen is essential.
For a gas stove, a ducted hood with a vent is best. A unit with a carbon filter works well over an electric stove to purify dirty air. A carbon hood is the best option when connecting ducted equipment to the building's central ventilation system is not permitted in the apartment.


